Resource Tiles in Mobile & Web
Written By Ed Kinne
Last updated Over 1 year ago
Resources can be external app launchers, URL links, documents/content, or live data integrations.
Resources are accessible from the Korbyt Anywhere mobile app and web interface.
They can be shared with all users or targeted to specific audiences.
To Manage Resources
Click the Mega Menu icon and navigate to Resources > Resources.
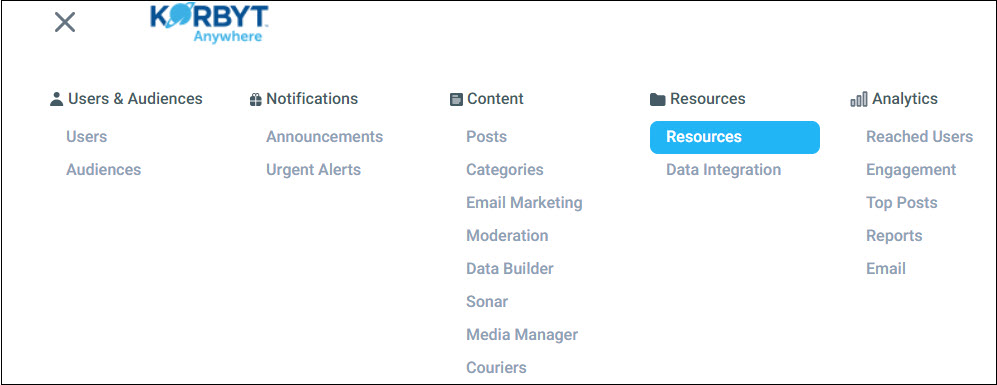
You Will See the resources that are already created
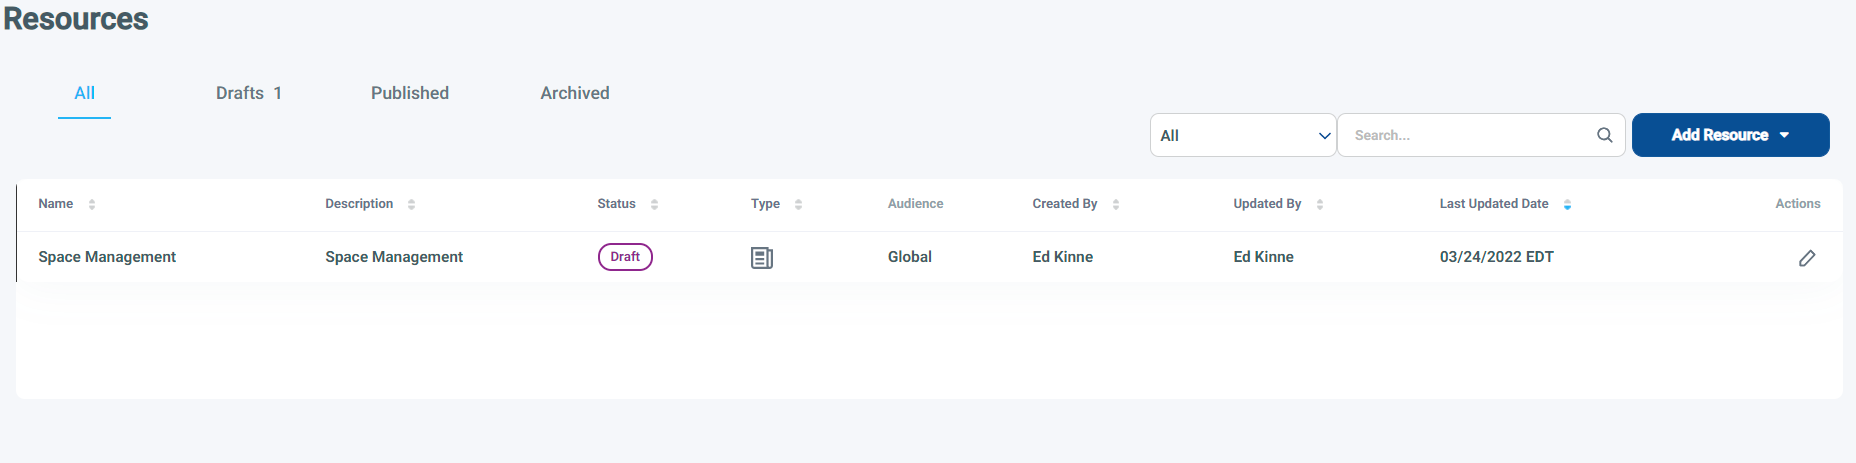
You can edit with the Pencil or add new resources
Adding A Resource
Click Add Resource and select the appropriate resource type (App Launcher, Link, File, and Data).
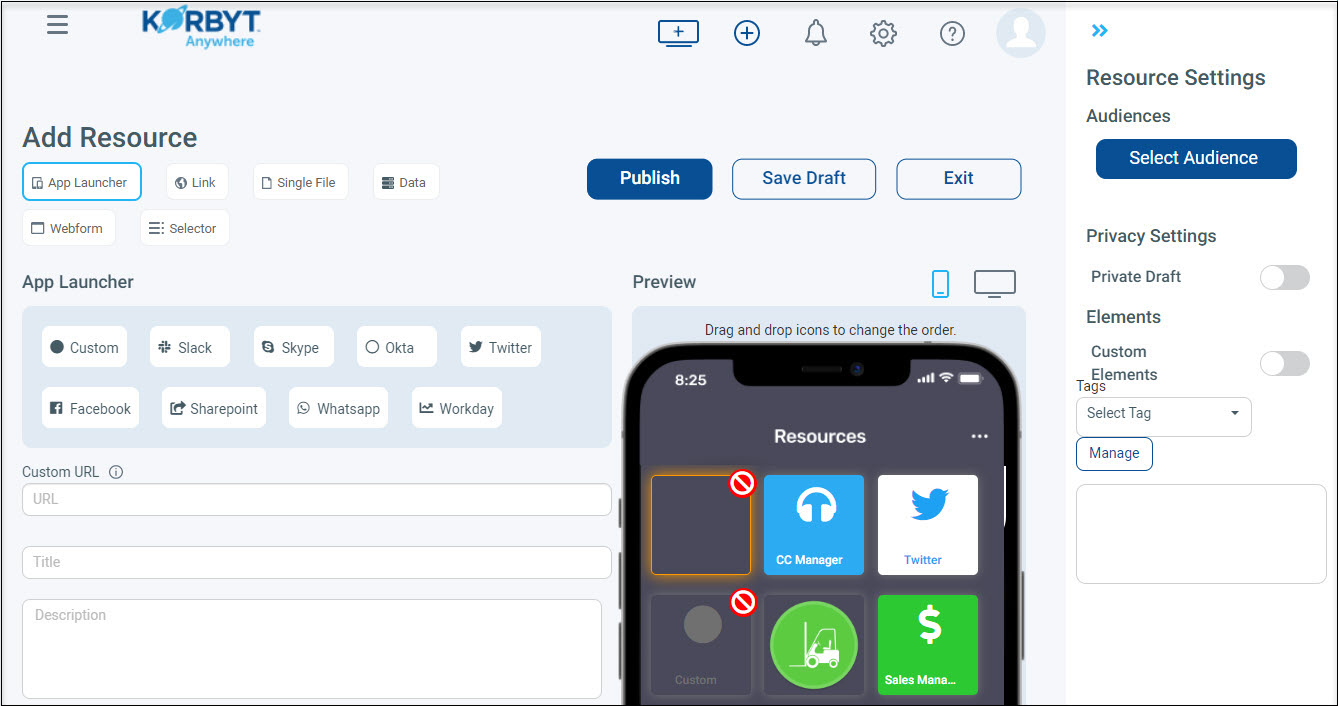
Enter a Title and Description.
Select the App Launcher Type (expand each section for more details
Configure the following Resource Settings:
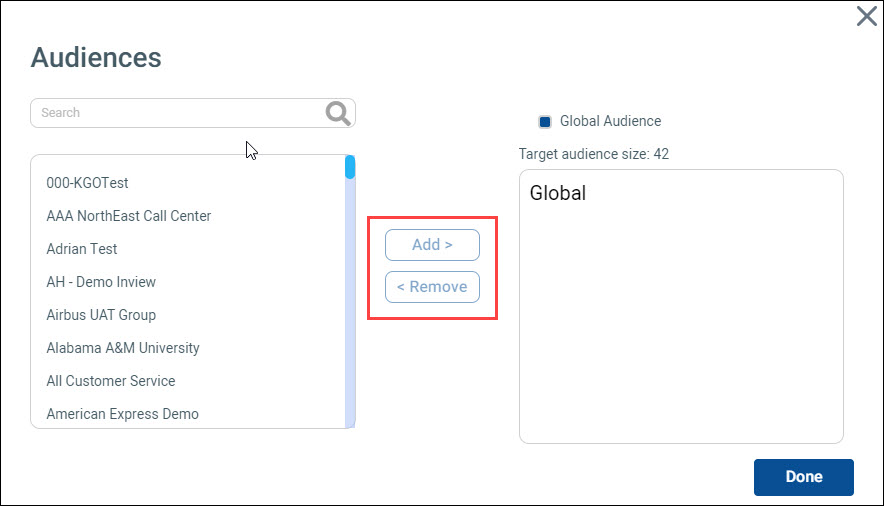
Audiences: Must Be Selected
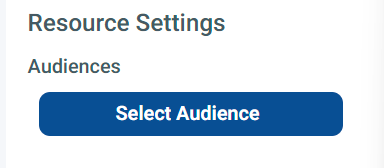
Resources to be available to the Global Audience of all users
Or you can specify a smaller audience of users
For More information on creating and Managing Audiences
Privacy Settings > Private Draft: Saves the resource as a private draft. CMS users won’t be able to see it. The resource will only be visible to you until you choose to disable private draft or publish the resource.
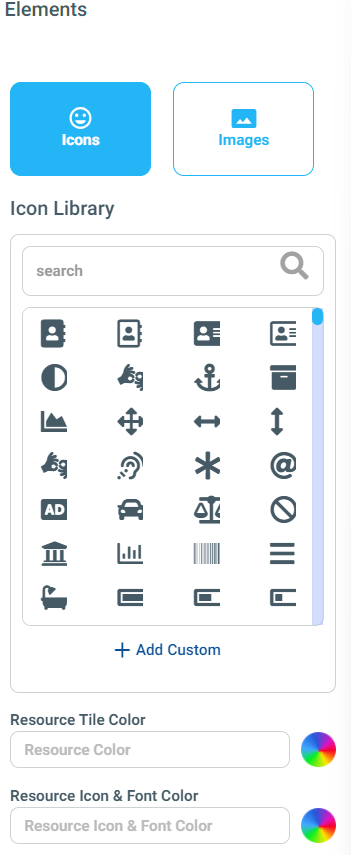
Elements > Custom Elements: Allows you to define the icon, tile color, and font color for your resources.
Tags: Allows you to organize your content for future analysis. This is only internal information and won’t be viewable by your users.
Click Save Draft to save your changes without making the resource available to your users.
Click Publish to make the resource available to your users.
All resources can be accessed on the Korbyt Anywhere mobile app by clicking the Resources icon from the navigation at the bottom of the platform. All resources can be accessed on the Korbyt Anywhere web interface by clicking the Resources icon from the navigation in the upper right of the platform. Featured resources can also be accessed from the Korbyt Anywhere web interface by navigating to Quick Links on the right of the Home screen.
/