Managing End Users for Desktop(InView) / Mobile&Web
Managing the users who only log into user-facing applications for Desktop and Korbyt, Creating Attributes, and Managing Audiences
Written By Ed Kinne
Last updated About 1 month ago
End Users are the users who will be logging into the Desktop(InView) Application to view Messages, or will be logging into the Mobile & Web Experience to view and interact with their News Feed.
If you are looking for information on managing CMS Users who log into the tenant to create and manage content please see How To Manage CMS Users And User Groups
The Desktop(InView) and Mobile & Web platforms share the same end user system, so the steps in this article apply if you have one or both of these Korbyt Products.
Individual End Users become members of Audiences if they are meant to receive unique messages and posts. Audiences are not needed if all users will see the exact same information.
User Attributes are a customizable way to assign information to users that allows for Dynamic Audience memberships
You may want to establish these before adding users
End User Management
To Find your End Users in the Korbyt CMS
Click on the Mega Menu in the upper left corner
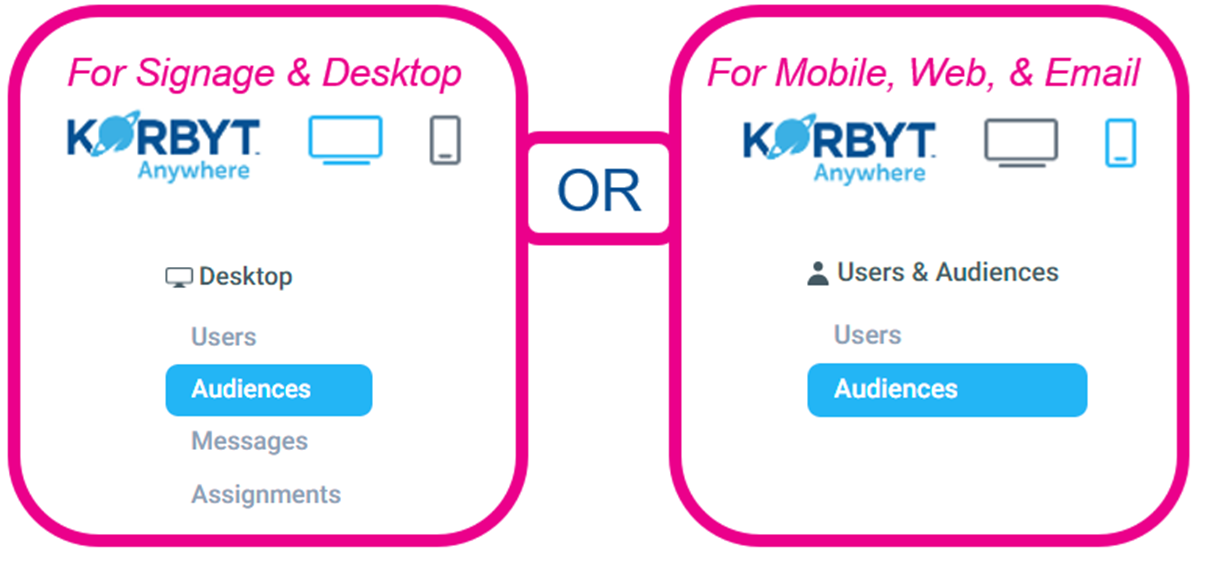
From the Mega Menu you can click on Users in the Desktop column for the Users & Audience column
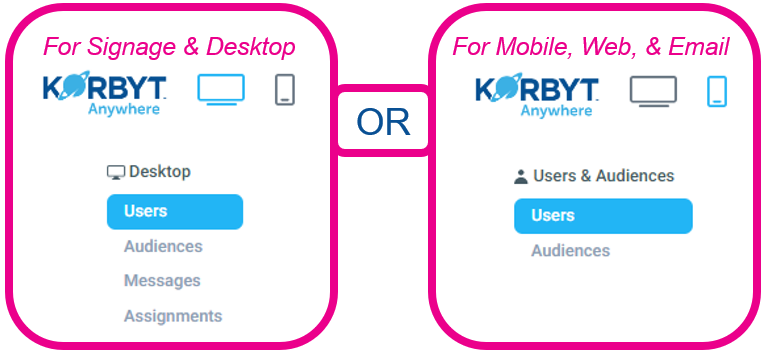
If you subscribe to both products, the user list is the same, and you can navigate either path
If you already have End Users, they will also be listed on this screen
The Edit, Export User, Impersonate Desktop View, Send Notification, and Archive Actions are available to the right to manage them
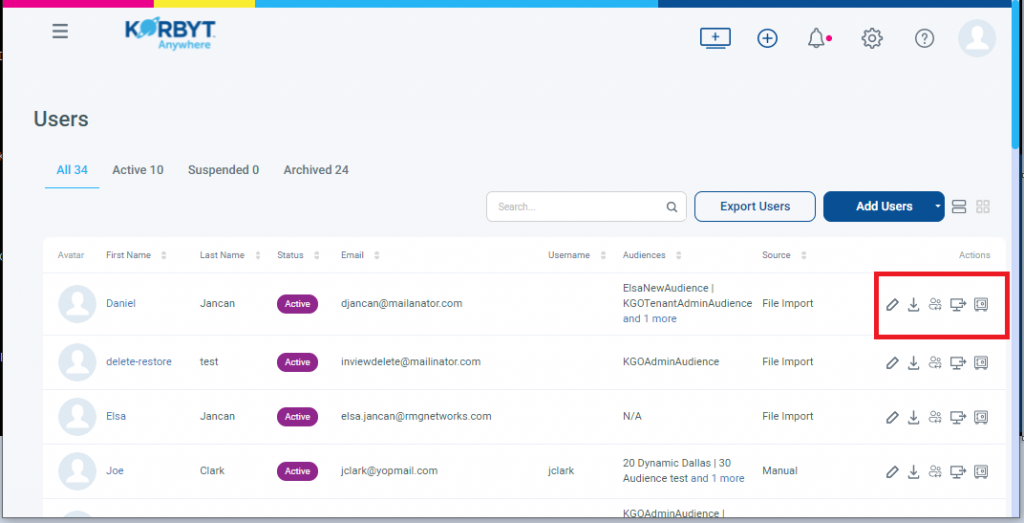
Users who no longer access the system are Archived, rather than deleted
This maintains the record of previous interactions
If a user was Archived and needs to be active again
Find the Archived record, click the check box next to the user entry
Use the Bulk Action in the upper right and select restore selected
Adding New End Users
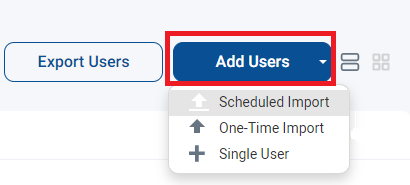
There are 4 different options for adding End Users.
Adding a Single User
To add a single End User one at a time:
In the Users screen described above, Click on the Add Users button and select Single Users
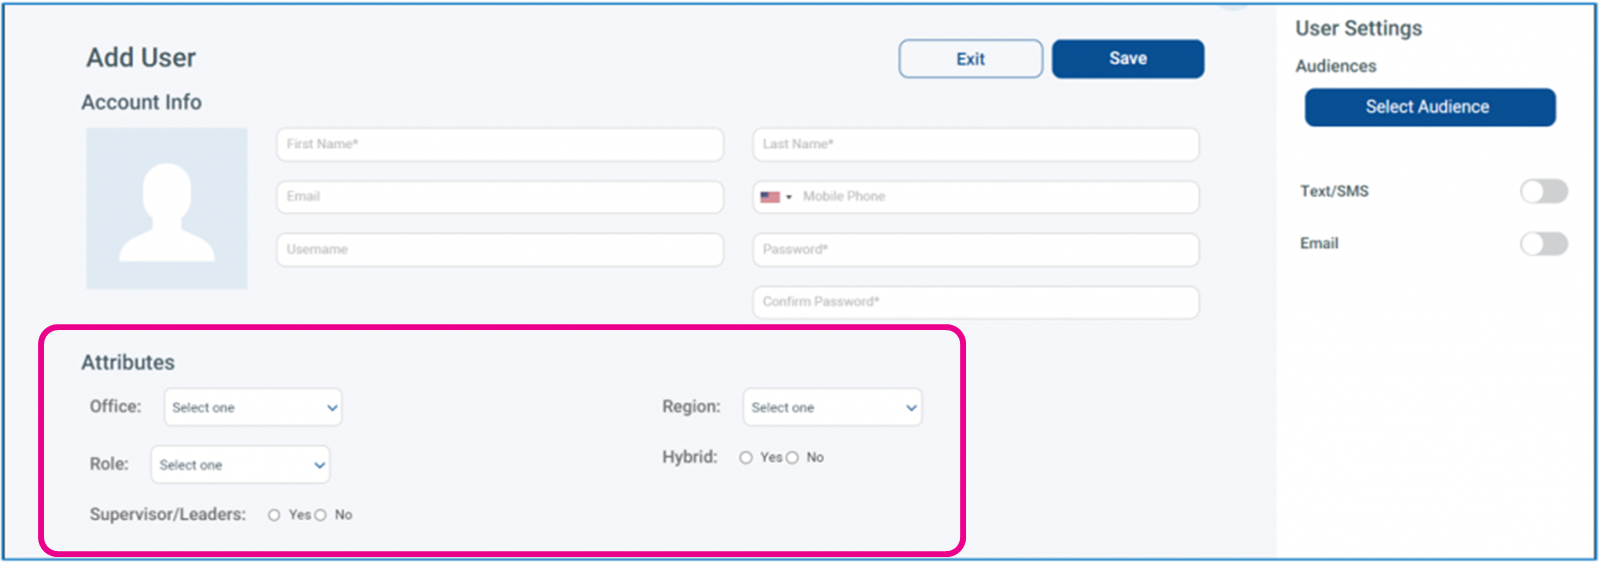
Fill in the required information (*)
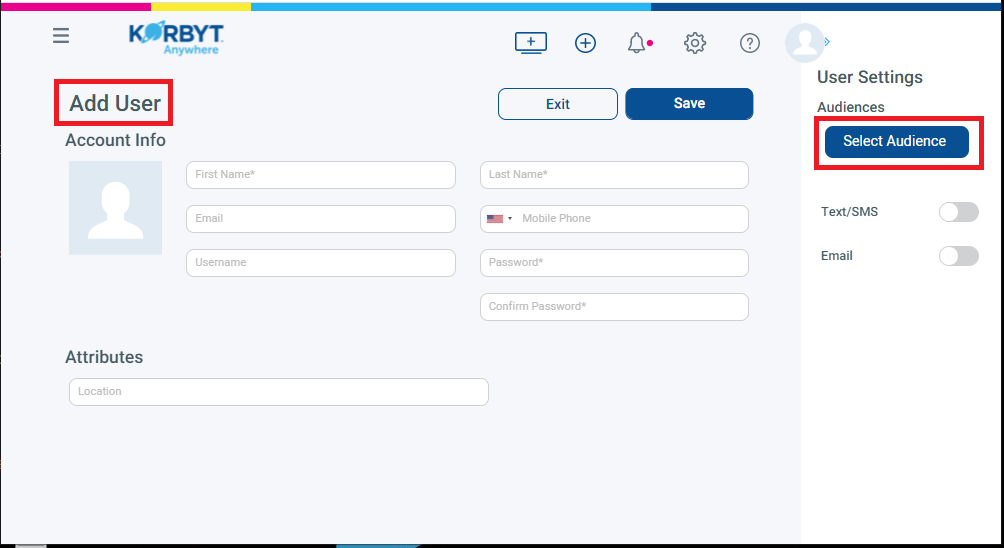
Optional - Click on the button to Select the Audience.
Audience Membership is how specific messages are targeted to a group. It can be set when creating a single user or managed later in the Audience menu
For Password, you can select any password you would like
If you use Default1! as the new user’s password, they will be prompted to change it the first time they log in
Click on the Save Button to complete the action of adding a User
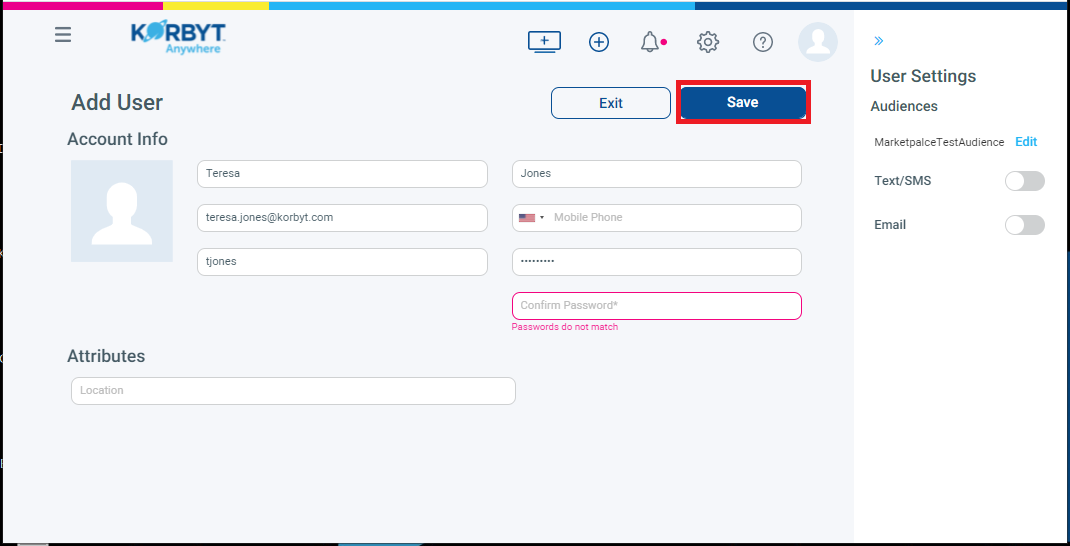
The user has now been created
One-Time Import of a User List
It is possible to import a list of users using a CSV template file
In the Users screen described above, click on the Add Users button and select One Time Import
Click Download Template to get a CSV File with the correct columns and example information

Navigate to the Downloads Folder on your Computer and you will see the template file
Populate the file with your list of employees and save
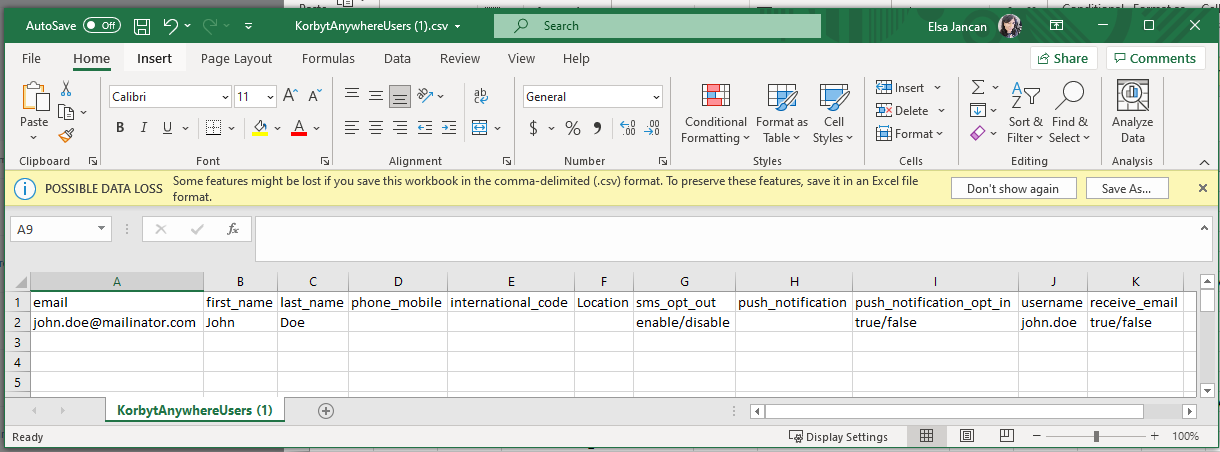
Fill in the CSV File with your values
first_name: Must contain a value.
last_name: Must contain a value.
email: Must be a unique value.
You can leave this field blank. However, we recommend that you include an email address to ensure the highest degree of reach.
If Email is left blank, you will have to provide a username and a mobile number
username: Must be a unique value. You can leave this field blank
phone_mobile: Must be a unique value.
If you are loading an email address, you can leave this field blank.
If you are using a username only, a mobile number is required.
international_code: This is the country code for mobile phone numbers such as 1 for US numbers.
If you load a mobile number, this field is required. Otherwise, you can leave this field blank.
Additional User Attributes already defined
If you have defined User Attributes in the system, they will be listed in your template
If you include any user attributes in your CSV import file that are not defined in your Korbyt Anywhere settings, such as Department and Location, your file will still load but those attributes will be ignored.
Back in Korbyt, click on Select CSV file link to select the file.
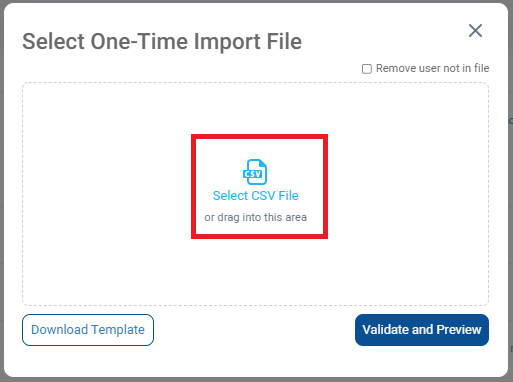
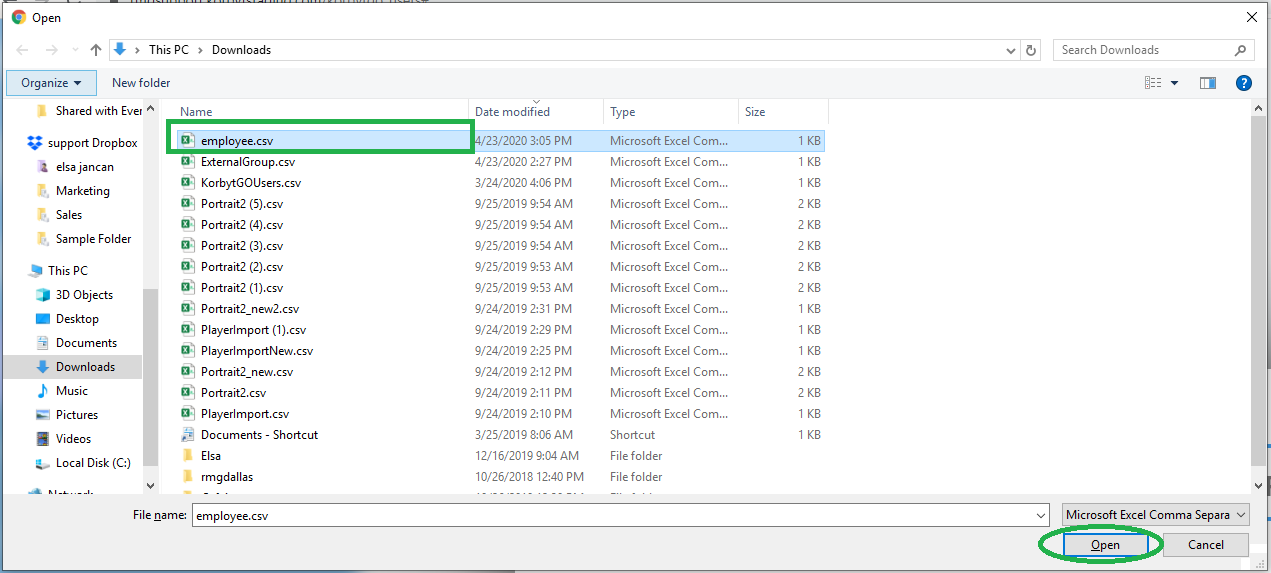
Locate your completed CSV file, select the file and click Open
Once the file is selected, click on the “Validate and Preview” button.
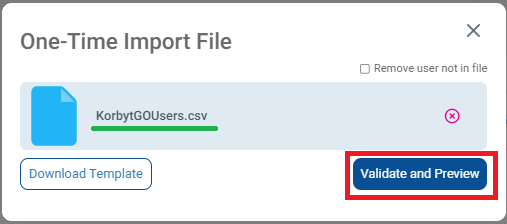
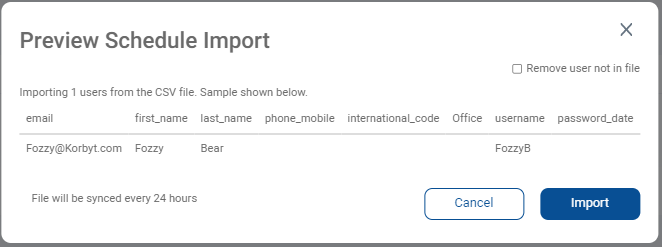
The Validate and Preview will show the employees on the file.
You have the Option to Remove Users who are no longer on the file by checking the box in the upper right
This will add new users and archive anyone no longer present on the CSV File
Review that all info is correct and click on the Import or Cancel button.
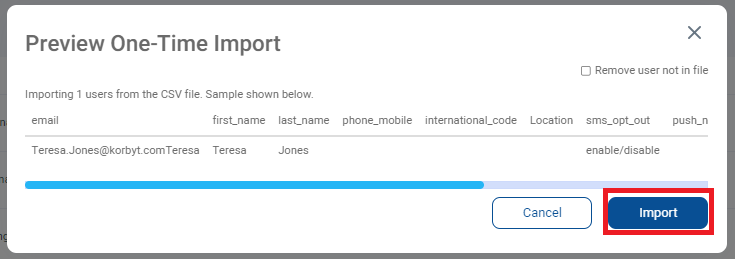
The user(s) are then imported and listed in the End User section
Scheduled Import of a User List
Scheduled Import is similar to One-Time Import because it uses the same CSV template, but instead of uploading once, it will routinely scan the document stored in Korbyt. Replacing the file will change the imported data
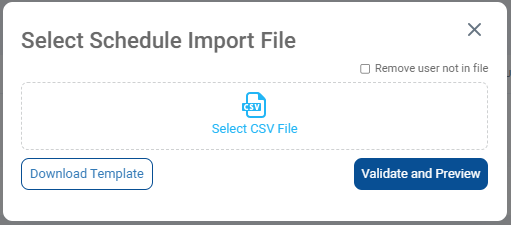
In the Users screen described above Click on the Add Users button and Select Scheduled Import
Click Download Template to get a CSV File with the correct columns and example information
Navigate to the Downloads Folder on your Computer and you will see the template file
Populate the file with your list of employees and save
Fill in the CSV File with your values
first_name: Must contain a value.
last_name: Must contain a value.
email: Must be a unique value.
You can leave this field blank. However, we recommend that you include an email address to ensure the highest degree of reach.
If Email is left blank, you will have to provide a username and a mobile number
username: Must be a unique value. You can leave this field blank
phone_mobile: Must be a unique value.
If you are loading an email address, you can leave this field blank.
If you are using a username only, a mobile number is required.
international_code: This is the country code for mobile phone numbers such as 1 for US numbers.
If you load a mobile number, this field is required. Otherwise, you can leave this field blank.
Additional User Attributes already defined
If you have defined User Attributes in the system, they will be listed in your template
If you include any user attributes in your CSV import file that are not defined in your Korbyt Anywhere settings, such as Department and Location, your file will still load but those attributes will be ignored. Back in Korbyt, click on Select CSV File link to select the file
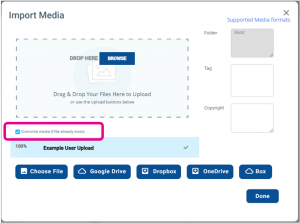
In this interface, you will be able to select a CSV File from your Media Manager
You can Drag-and-Drop the File into this window if you have not already uploaded the file to Korbyt

Once the file is selected, click on the “Validate and Preview” button.
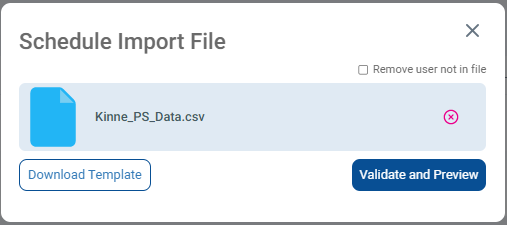
The Validate and Preview will show the employees on the file.
You have the Option to Remove Users who are no longer on the file by checking the box in the upper right
This will add new users and archive anyone no longer present on the CSV File
Review that all info is correct and click on the Import or Cancel button.
The user(s) are then imported and listed in the End User section
The File will be re-checked every 24 hours
To update the Users in a Schedule Import
Load an updated copy of the CSV File to the Media Manager
Make sure to use the same file name, and check the box to Overwrite media if the File already exists
Now, when the schedule runs again and checks the updated file, it will add and remove users as you have specified.
Importing Users from Azure Active Directory
End Users can be created and mapped to attributes using Azure AD. For more details, see SSO (Single Sign-On) Options in Korbyt
Audiences for Desktop Messages or News Feed Posts
Audiences are how Desktop Messages are assigned or how News Feed posts are differentiated.
If different End Users are meant to see different information, based on role, geography, or any other factor, there will have to be unique audiences that define those End Users.
These Audiences can be manually managed, dynamic based on User Attributes, or created and managed by Azure Integration
To Create Audiences
Click the Mega Menu and click on Audiences in the Desktop column or the Users & Audience column depending on the product
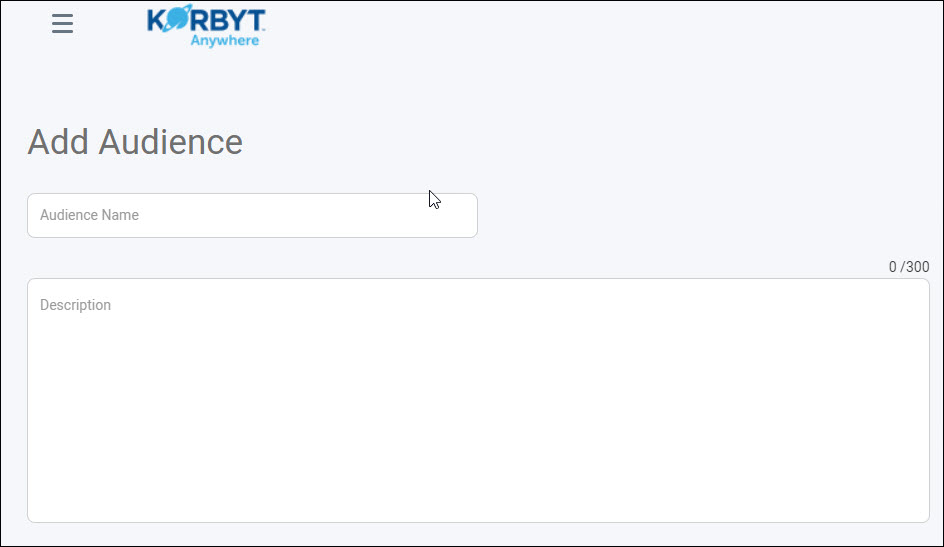
From the Audiences screen, click Create Audience.
Enter an Audience Name and Description.
To Create A Static Audience
Select the Manual selection of users radio button under the Audience Defined by section.
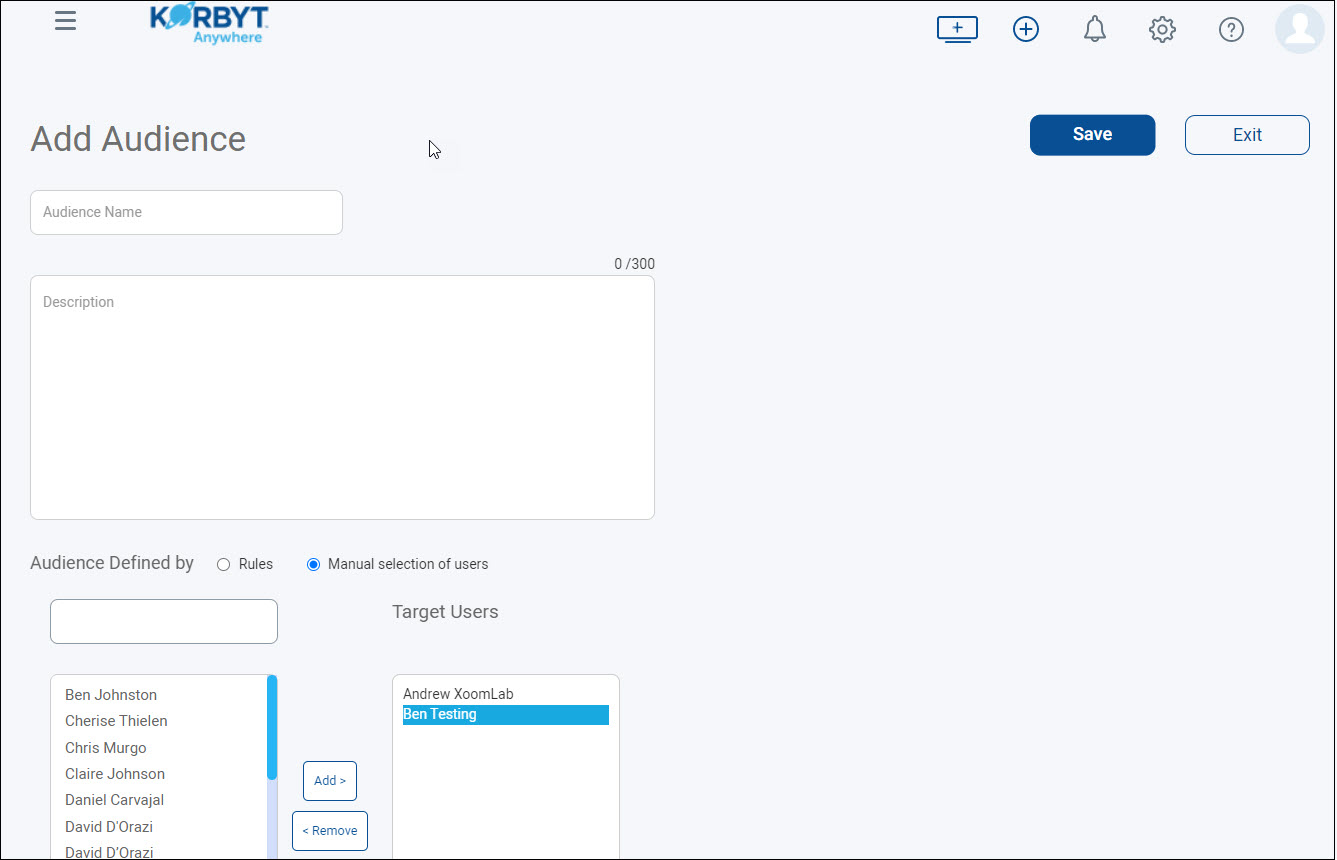
Select the appropriate users.
Click Add to add them to the Target Users column.
Click Save.
To Create A Dynamic Audience
Leave the Rules radio button selected under the Audience Defined by section.
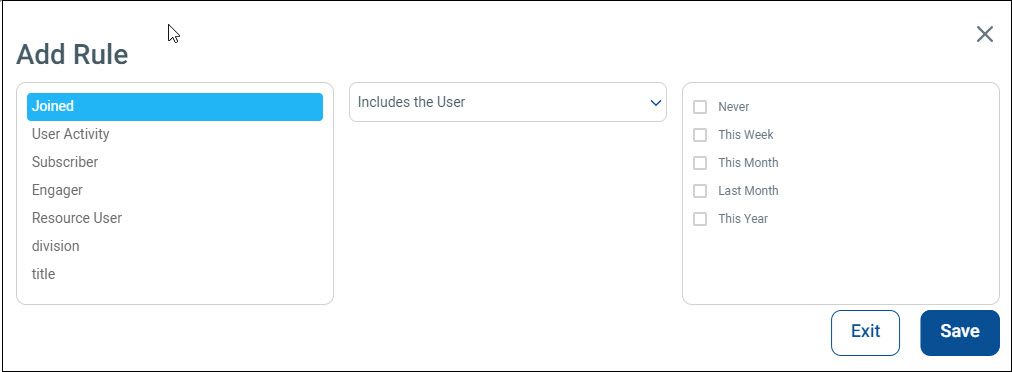
Click Add Rule in the lower left
Select an attribute (Joined, User Activity, Subscriber, Engager, Resource User, or any user attribute defined in the CMS).
Select includes the User or Does not include the user from the drop-down.
Set additional parameters based on the attribute selected.
Click Save.
Editing Audiences
On the Audiences Screen, click the pencil for the audience you want to edit
You can change the Audience Name, and Description
For Static Audiences, you can edit the Members
For Dynamic Audiences, you can edit the Rule that selects the Members
If you wish to remove an individual End User from a Dynamic Audience, you would change the user’s attribute that is adding them to that audience
End User Attributes
End User Attributes are an Optional Setting in your Korbyt System that allows you to create characteristics that can then be defined for individual users
Some Common User Attributes used include:
Department / Group
Job Title or Code
Office Location / Remote Status
People Leader (Y/N)
User Attributes are controlled in the Settings Menu for the Tenant and if used should be set before importing/creating End Users for large scale user creation
Navigate to the CMS Settings by clicking the gear icon in the upper right, then scroll down on the General Tab or select the Mobile & Web Tab depending on your services
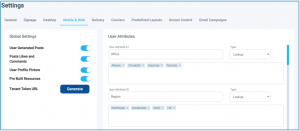
You can then Name your Attribute
For example, “Job Title” or “Role” or “Location”
Whatever the name of the attribute is that will separate your users into groups
Select the Type
This will define the type of information this space is set to receive
We recommend Lookup as a type with multiple predefined options, you can then define those options that will be available
For example, a list of Job Roles, or Locations
Boolean as an option when the selection is either “Yes or No”
For example, If the Employee is a remote worker
Defining these attributes in settings will make them available to assign to end users both
individually on the Edit/Add Users Screen
and through CSV file import
