Webex Integration with Korbyt Booking
Written By Piyush Wason
Last updated 11 months ago
Create a Webex meeting in Korbyt Booking using all user interfaces - Bookit, Bookit Plug-in & Mobile.
Prerequisites
A Webex organization with Webex Meetings licenses and Control Hub access to add/manage users.
Permission to create Integrations on the Webex Developer portal (developer.webex.com).
Your Korbyt Booking base URLs.
Korbyt Booking v9.x with Collaboration Integration enabled (admin does this once; details below). End users can then select Webex as a collaboration type while booking.
Webex Configuration
This section outlines the steps required for customers to configure their Webex environment and enable integration with Korbyt Booking.
1. Account Setup
Once the Webex license has been successfully purchased, an administrator should log in to the Webex Account Management Portal using the credentials.
Navigate to Account Management.
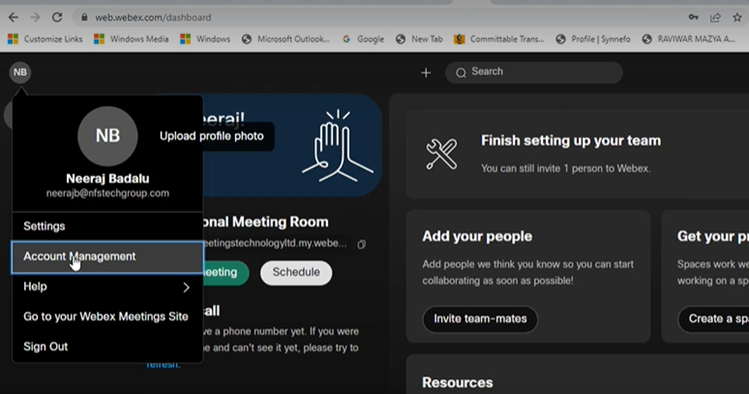
Under User Management, select Add More Users.
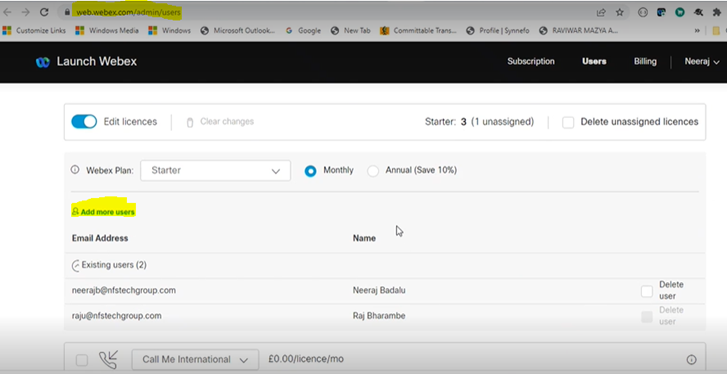
Enter the organizational email address and name of the new user.
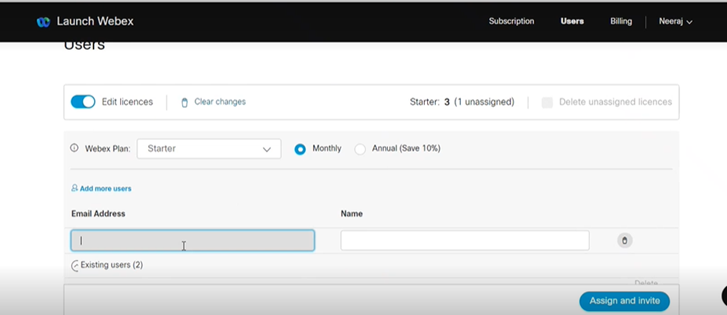
Select Assign and Invite.
This action sends an invitation email to the user, who must accept it to complete setup.
2. Accessing the Webex Developer Portal
To configure the Webex application:
Go to https://developer.webex.com/.
Log in with your organizational Webex email ID and password.
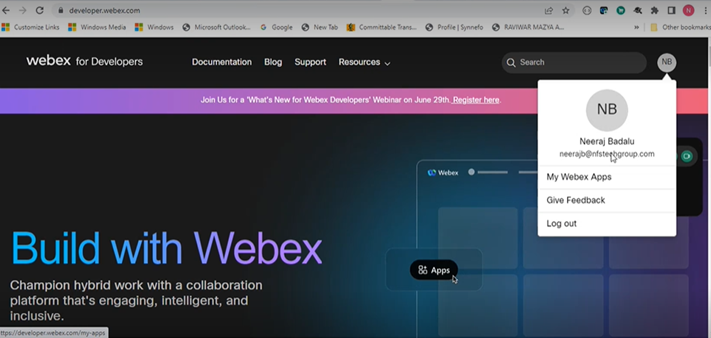
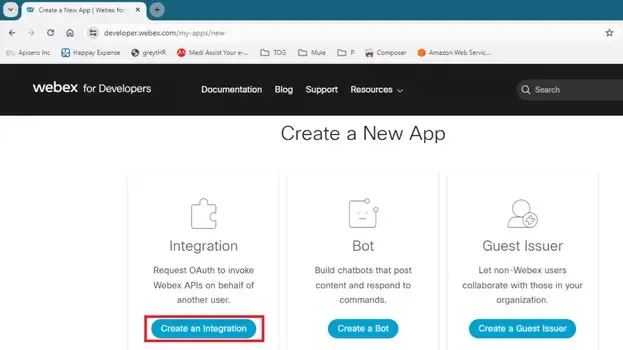
Navigate to My Webex Apps and click Create a New App.

3. Creating an Integration
Select Integration as the application type.
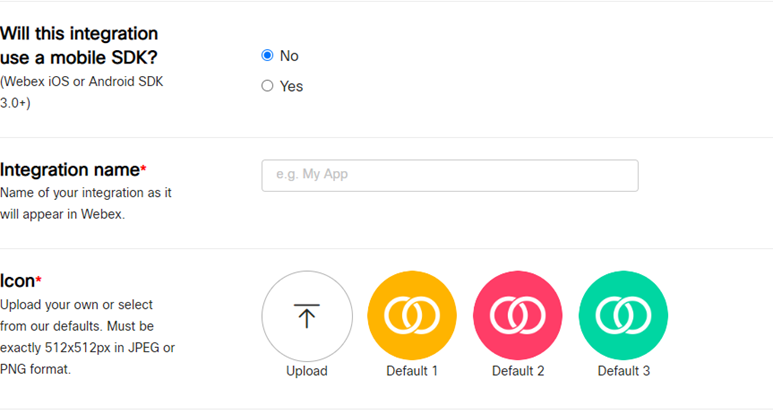
Complete the Integration Form by entering the required details:
Integration Name
Application Icon (must meet Webex size requirements)
Description (overview of the application)

4. Redirect URI Configuration
In the Redirect URI(s) field:
Enter your organization’s base URL. For example:
https://wsqa2.nfsonline.net/ProductDemo/Pages/
This ensures successful OAuth redirection.
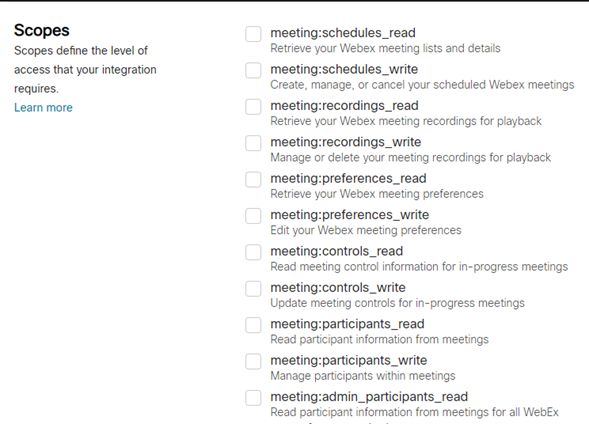
5. Assigning Permissions
Under Scopes and Permissions, assign the required permissions to the application.
Standard practice is to enable all user permissions, excluding admin-specific permissions, unless required by your organization’s policy.
6. Finalizing the Integration
After completing the form, select Add Integration.

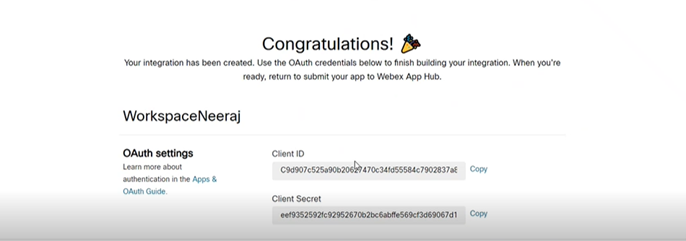
The system will generate the following credentials:
Client ID
Client Secret
OAuth Authorization URL
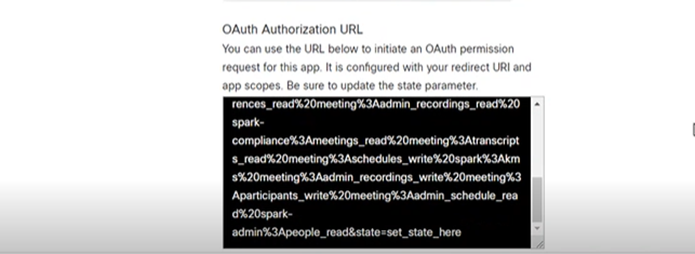
Save these values securely in a password manager. They will be required for configuring Korbyt Booking and for future reference.
Summary of Configuration
By completing the above steps, customers will have successfully:
Added organizational users to their Webex account.
Created a new Webex Integration application.
Configured the required Redirect URI and permissions.
Obtained the necessary credentials (Client ID, Client Secret, and OAuth Authorization URL) for use in Korbyt Booking.
This completes the customer-side configuration for Webex integration.
Steps to Enable WebApp and Resource Configuration for Webex Integration
This section details how to configure the Korbyt Booking Web Application and individual resources to enable Webex as a collaboration option.
Korbyt Booking Global Settings Configuration
Access Global Settings
Log in to the Workspace Web Application.
Navigate to Administration > Settings > Global Settings.
Enable Webex Collaboration
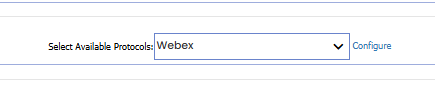
Locate the Collaboration Integration section on the Global Settings page.

Select Webex from the available options.
Click Save to apply changes.
Configure Webex Integration Details
Click the Configure link next to Webex.
The Webex configuration page will open.
Enter the following details (these values are generated when the customer creates the Webex App under My Webex Apps):
Client ID
Client Secret Key
Authorization URL
Code (auto-populated, not manually editable)
Refresh Token (auto-populated, not manually editable)
Organizer – Select from:
Logged-in User
Requester
Exchange Organizer

After entering the details, click Save.
Generate Webex Code & Refresh Token
Once saved, a new button will appear in the Webex configuration panel: Get Webex Code & Refresh Token.
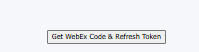
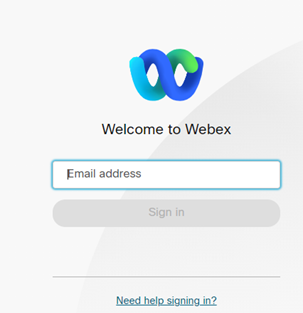
Click the button. A new browser window will open.
Enter the Webex account credentials (used when creating the Webex App) and provide consent.
You will then be redirected to a blank page with a Close button.
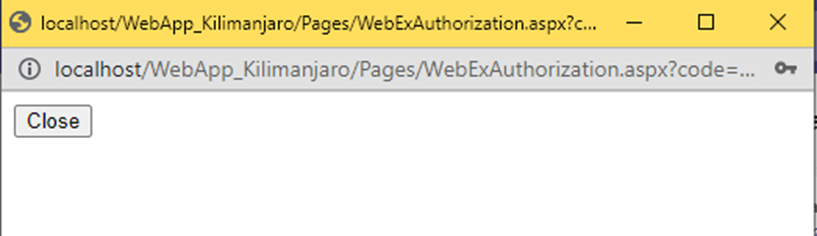
Upon closing, the Webex Code and Refresh Token fields will be automatically populated.

Define Meeting Organizer
From the Organizer dropdown, choose who should be set as the meeting organizer:
Logged-in User
Requester
Exchange Organizer
Save the configuration once complete.
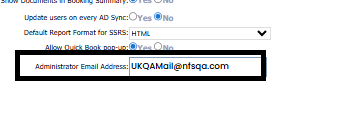
Configure Administrator Email Notification
In Global Settings, enter an Administrator Email Address.
The system will automatically send a notification email five days before the Webex refresh token expires.
A Windows service runs daily to check token validity and trigger the reminder.
Resource (Room) Setup
Navigate to: Korbyt Web App > Administration > Resource Management > Resource.
Select the specific room/resource you want to enable for Webex.
Set Is Collaboration Active = YES.
Choose Webex in the collaboration options.

Fill in the Mailbox ID field with the resource mailbox email.
Save the Configuration.
User Booking Experience with Webex Collaboration
When creating a booking (via WebApp, Bookit Web, Bookit Mobile), users will see a Collaboration dropdown.
Selecting Webex automatically generates the Webex meeting link.
The link is included in:
Calendar invite (EWS/O365 sync)
Email alerts (confirmation, modification, cancellation)
Korbyt Booking
Start a New Booking: From the Calendar or ‘New Booking’, select the resource/room you want to book.
Enable Collaboration
In the Advanced Booking form, under Booking Details, select Collaboration type as Webex from the dropdown.
The dropdown only appears if the room/resource is Collaboration Enabled by the admin.
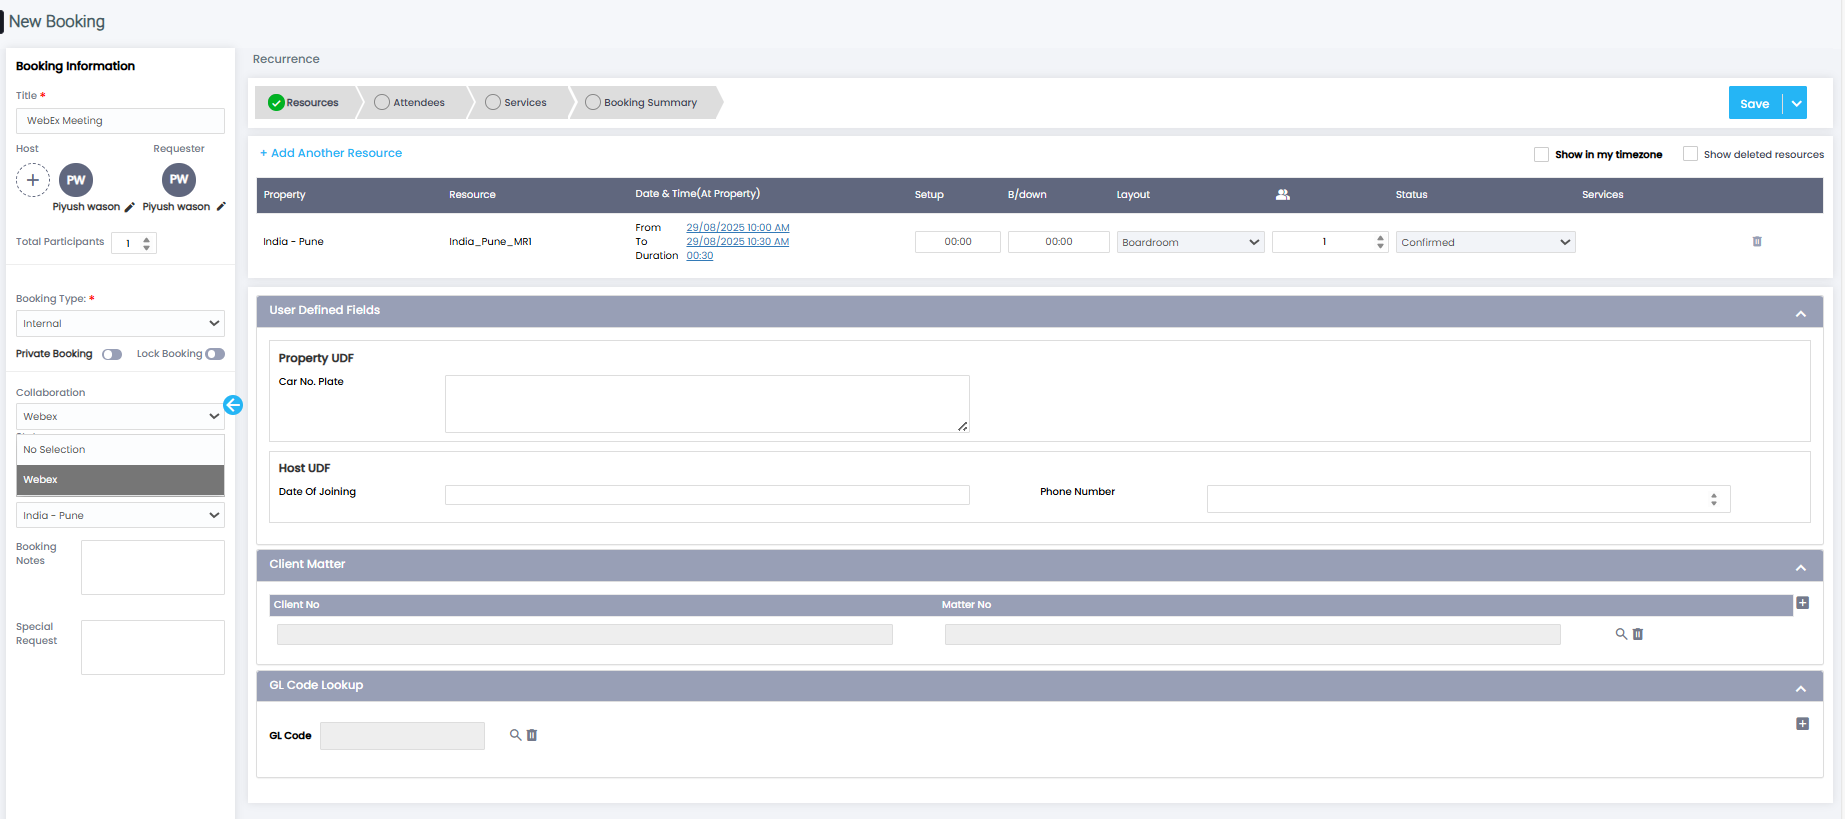
Complete the Booking
Add title, attendees, services, and notes as usual.
Confirm the booking.
📩 The meeting invite and alerts will automatically include the collaboration details (meeting link, dial-in info, etc.).
Once the booking is saved, the ‘Copy Meeting Link’ will be visible.
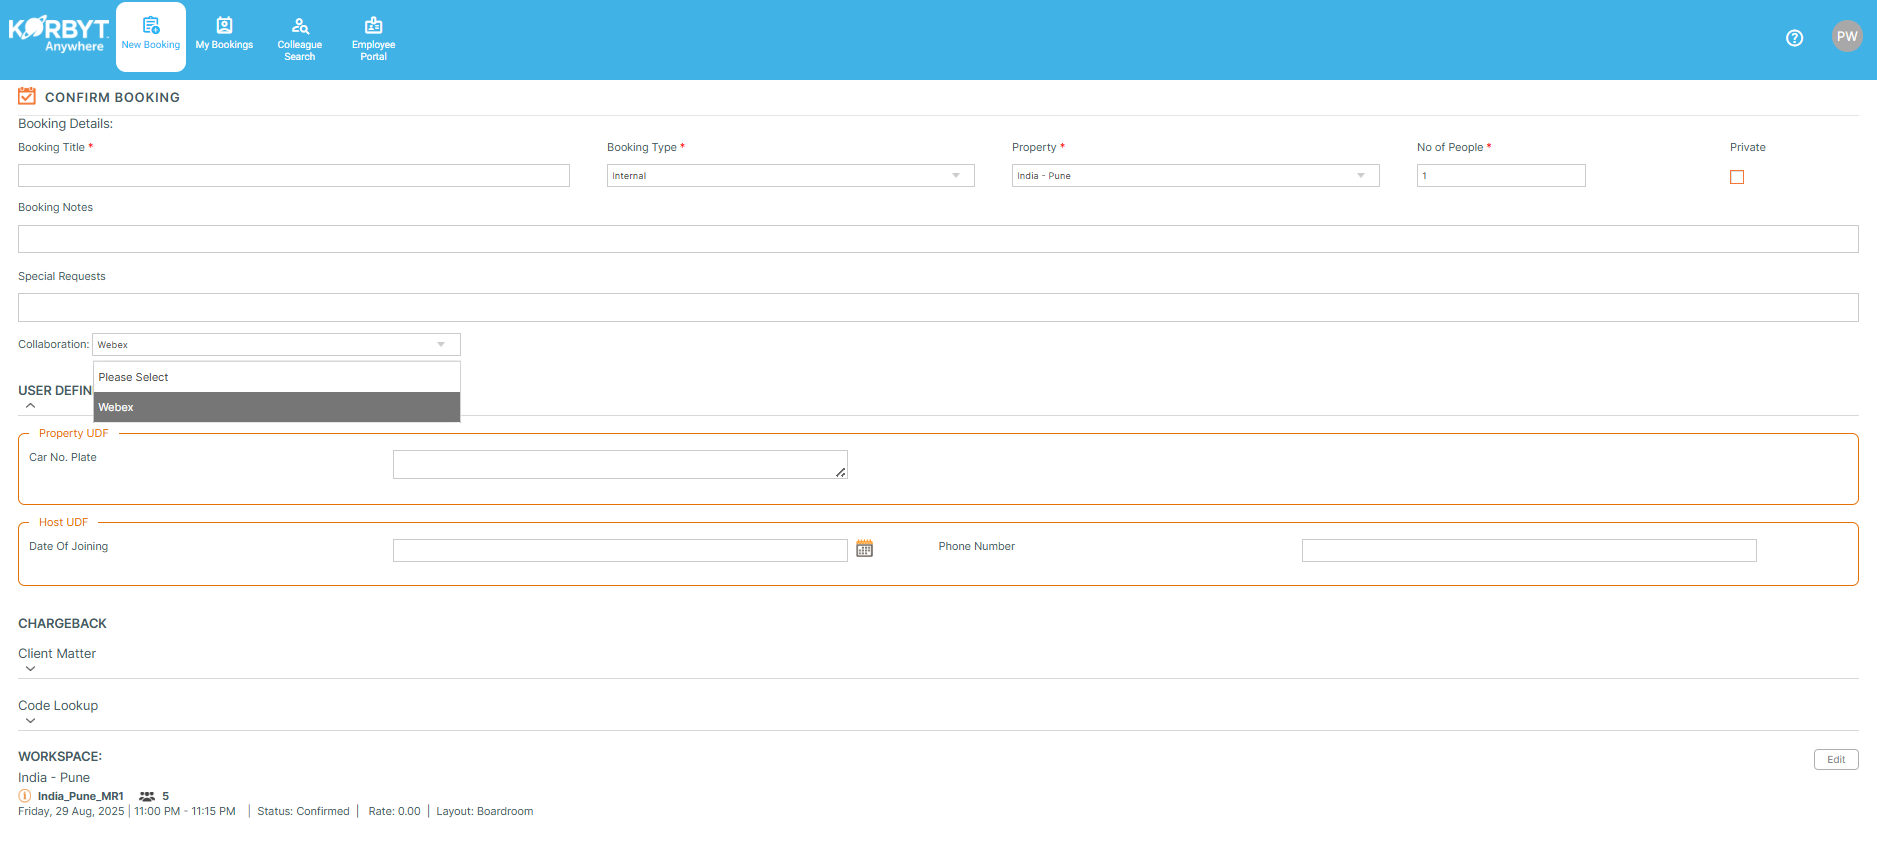
Korbyt Bookit (Web & Plug-in)
Create a Booking
From Bookit Web or the Plugin, search for and select a room.
Choose Collaboration Type
In the Booking Details screen, select Webex from the Collaboration dropdown to activate Webex integration for this booking so that the system can automatically generate Webex meetings.
Finish the Booking
The system generates the collaboration meeting link automatically.
Invites are sent to hosts, attendees, and the resource mailbox with full meeting details.
Korbyt Booking Mobile
Korbyt Booking Mobile supports seamless collaboration through Webex integration, enabling users to initiate and manage virtual meetings directly from their mobile devices.
Steps:
Launch the Korbyt Booking Mobile App.
Navigate to Book a Room.
Select a Webex-enabled room.
In the Collaboration dropdown, choose Webex.

Finalize your booking as usual.
Automatic Meeting Link Generation:
Once the booking is confirmed, a Webex meeting link is automatically created.
This link is embedded in the confirmation email and calendar invite.
Attendees can join the meeting directly from their mobile device if Webex is supported on their mobile.
Key Notes on the User Experience
The Collaboration option only appears if:
The admin has enabled Collaboration Integration in Global Settings.
The specific room/resource is marked Collaboration Active with a selected tool.
Users don’t need to manually paste meeting links — the system generates and distributes them automatically.
If at least one attendee is marked as Virtual, the system will remind the user to choose a collaboration tool (Teams/Webex/Zoom).