Exchange Room Sync Configuration and Integration with Korbyt Booking
This article outlines the steps to configure Exchange room sync in Korbyt Booking, Bookit, and Bookit Plugin.
Written By Ed Kinne
Last updated 9 months ago
Introduction
This article covers the Exchange Room Sync API and the Exchange Room Sync service. Included are instructions on configuring Exchange room sync-related settings in Korbyt Booking, a matrix for application support, and the complete deployment process. Using this Exchange room sync service, bookings created from any interface can be automatically synchronized into any other connected system. The integration will also support bulk importing of existing appointments from Exchange to Korbyt Booking.
This article is also available as the attached PDF document
Exchagne Room Sync Configuration - Oct 2025.pdf
1021.2 KB• Document
Application configuration with Users and Resources
Points to remember:
If you have On-Premise Exchange, you can only use EWS (Basic authentication), and the Exchange version must be 2012+
If you are using Exchange Online, you must use Graph.
If you are between On Premise and Online, using both, then it is recommended that EWS is used
If using a hybrid system, then you will need to configure each of the Exchange connections. Rooms and users in each Exchange will need to be assigned to their correct Exchange individually. Note the following permutations. The first three are supported, but the last one is not.
Supported - User On-Prem (EWS) and Resource Mailbox On-Prem (EWS)
Supported - User On-Prem (EWS) and Resource Mailbox Online (Graph)
Supported - User Mailbox Online (Graph) and Resource Mailbox Online (Graph)
Not Supported - User Mailbox Online (Graph) and Resource Mailbox On-Premises (EWS)
Types of Exchange configuration/authentication options supported
EWS on-premises (basic authentication only)
Graph API (online only)
Note: EWS OAuth is NOT supported when using Exchange Rooms Sync
Deployment Process
This section describes all the configurations required from the Korbyt Booking interfaces to enable the Exchange Sync integration.
All information below assumes that a Korbyt Booking system already exists. There is a separate checklist on what is also required that is not unique to Exchange Room Sync.
Please refer to the Exchange Settings Checklist if you are unsure what is assumed to be a ‘working Korbyt Booking system’.
Prerequisites
Exchange EWS URL and service account (when using basic authentication)
App Registration in Azure for Graph API
The user creating the app registration needs Global Admin rights in Azure.
HTTPS must be enabled.
Inbound and outbound internet traffic must be allowed. On-prem clients should refer the following URLs for details on IP addresses that need to be whitelisted when accessing Exchange Online (Graph).
This Microsoft support article lists all the Microsoft Endpoints in a JSON format file:
An additional list of IPs needed can be found on this Microsoft support article:
Other endpoints not included in the Microsoft 365 IP Address and URL Web service
Minimum version Korbyt Booking V8.4.2.1
Other interfaces such as Bookit, Outlook, and Mobile as required
Employee Sync is done to import all users
Resource Sync to import all resource mailbox aliases
Korbyt Booking Webservice API
Korbyt Booking EWS Connector
Korbyt Booking ExchCal Service (Setup described below)
Korbyt Booking ExchCal Sync API (Setup described below)
Exchange resource mailboxes are configured correctly (see below)
If applicable, import existing resource appointments into the Korbyt Booking Workspace
Exchange Room Mailbox Information
The resource settings will vary depending on how the resources were created, i.e., using PowerShell or browser UAC (User Account Control).
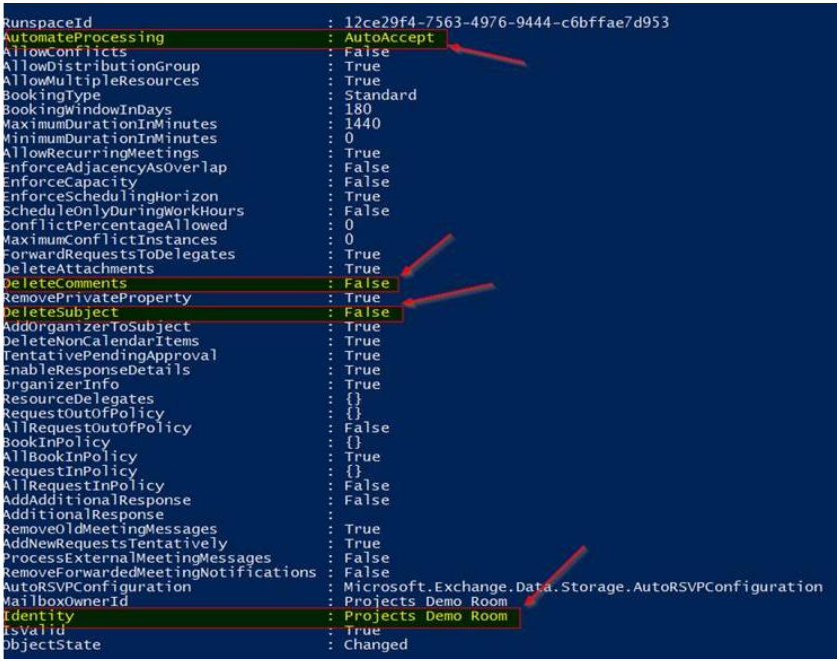
The PowerShell command used to get calendar processing details:
Get-CalendarProcessing " Room Name " |fl
Using Exchange Server PowerShell (Exchange Management Shell), use the Set-CalendarProcessing cmdlet to modify calendar processing options for individual resource mailboxes as shown below:
Set-CalendarProcessing -Identity "Room Name” -AutomateProcessing AutoAccept -DeleteComments $false -DeleteSubject $false
The rules and restrictions set within Korbyt Booking should, where possible, be reflected in Exchange. Consider discussing these to avoid out-of-sync situations. For example, Korbyt Booking does not support recurring bookings with no end date. There will be a limit imposed in Korbyt Booking for the maximum number of occurrences allowed. If this is not observed in Exchange for future bookings, the systems may be out of sync.
Documentation from Microsoft explaining Room Resource Calendar Processing:
Microsoft Support Article - Set-CalendarProcessing
Exchange Room Sync Confi File Setup
Regardless of how the connection with Exchange is being established, this section must be completed.
This will be done by a Korbyt technician.
Korbyt Booking ExchCal Sync API
Exchange Room Sync Configuration in Azure
This section outlines all the configurations required in the Azure Portal.
Register the Application Within Azure
The following steps outline how to set up the Azure App Registration that is required when using Graph API (section below), or when using EWS OAuth (detailed in the section after Graph Api).
Graph API Configuration
Sign in to the Azure portal using an admin account.
On the home screen, select the App registrations option.

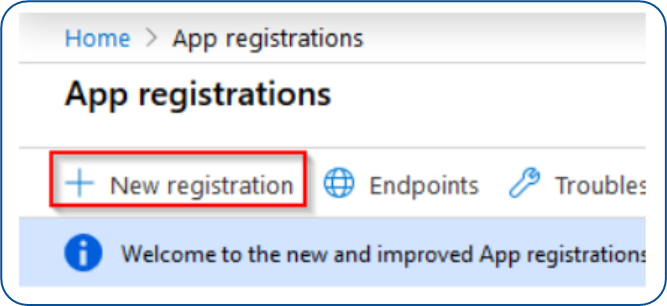
In the App registrations page, select New registration
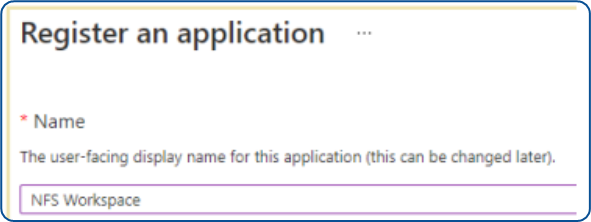
When the Register an application page appears, enter your application’s registration information:
In the Name section, enter an application name as shown below.
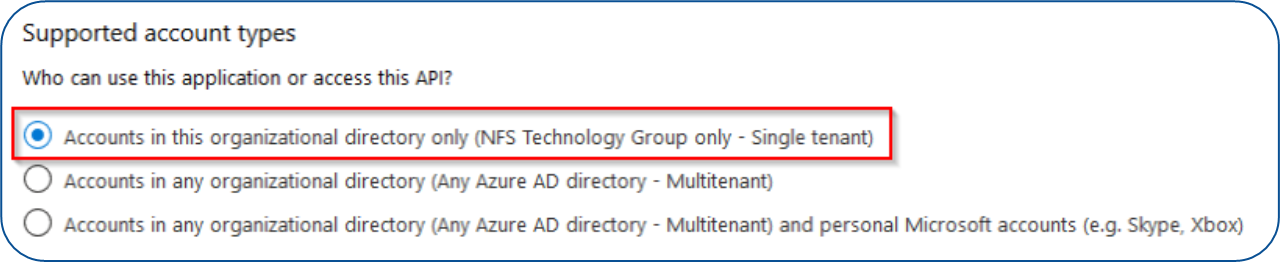
In the Supported account types section, select Accounts in the organizational directory only (Client Domain only – Single tenant)
Select Register to create the application
On the app Overview page, find the Application (client) ID value and the Directory (tenant) ID value and record these for later. This will be needed to configure the corresponding fields during the Korbyt Booking configuration – please supply to the Korbyt IT Team
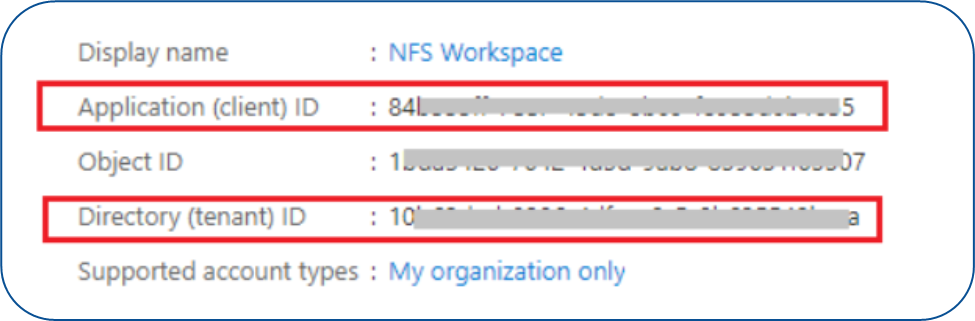
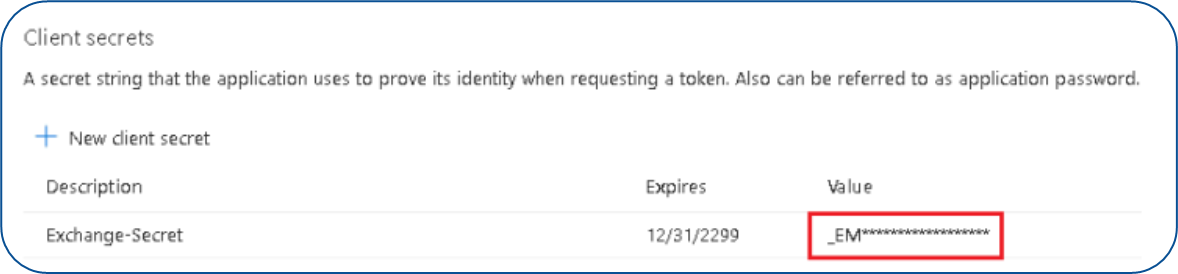
Click on the ‘Certificates & secrets’ option on the left. Create a new client secret to the desired specifications and store the key value – This is required to be entered into the Korbyt Booking system so will also need to be supplied to Korbyt along with the Client Id and Tenant Id.
Note: For certificate-based authentication instead of using a client secret, please refer to the document "Certificate-Based Authentication for Accessing MS Graph API" provided separately.
Be aware that if you set the secret to expire within a short time and you do not remember to set the new secret in time, your bookings will not synchronize as expected.Click on the ‘API permissions’ option on the left. Click on Add a permission => ‘Graph API’ and assign the below permission set. Set the six ‘Delegated’ type permissions as per the list below and the one ‘Application’ type permission.

Click on the option to Grant Admin consent – this will only work if you have global admin rights.
The Azure App registration is now complete. Go to the section below, which is entitled “Exchange Room Sync Configuration - Administration”
EWS OAuth
Not supported for Exchange Rooms Sync.
Exchange Room Sync Configuration - Administration
This section describes all settings required in the front-end Korbyt Booking Web interface. There are many different options depending on what Exchange is being used and how the connection to Exchange is being established. Please ensure you are using the correct configuration set based on the environment being used.
Navigate to Administration => Settings => Global Settings. If the system was set up with Exchange settings on the main global settings page, then this option should now be disabled if you plan to use the Exchange Rooms Sync option.
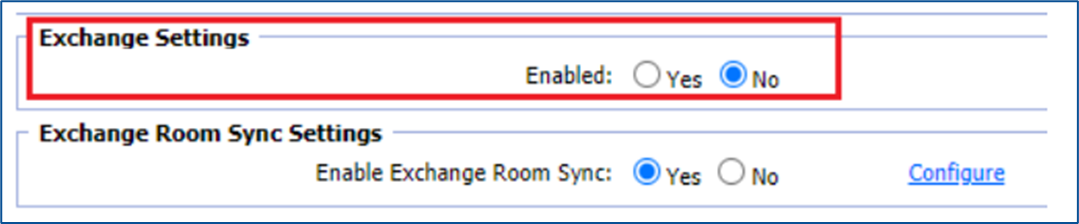
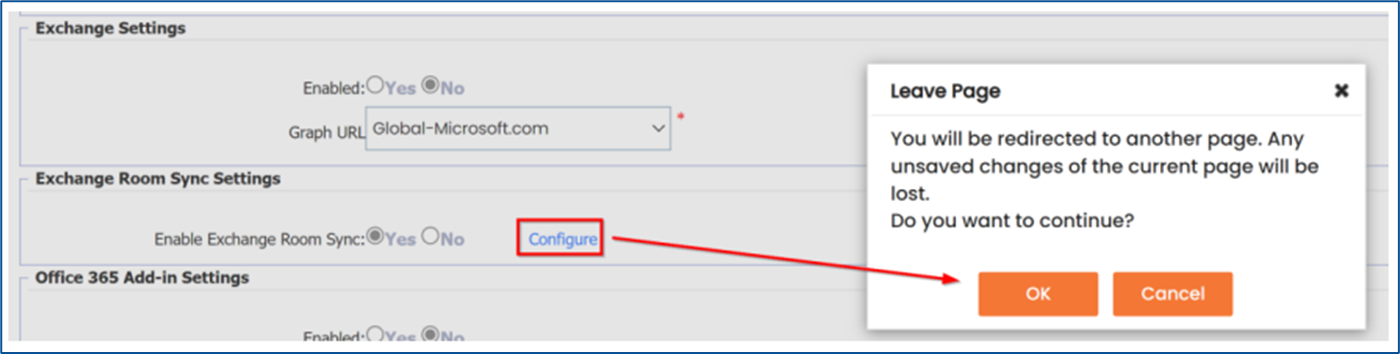
Select “Yes” for the radio button against the “Enable Exchange Room Sync”
Click on the Configure link, which will display the configuration window
In the Configuration Type section, there is a “Select Interface Type” option.
There are two options:
EWS
Graph
See the expandable sections below for detailed instructions for both options.
Configuration Settings for EWS
Configuration Settings for Graph
Related Korbyt Booking Settings
Enable EWS integration for all UI Types that will be involved in the environment.
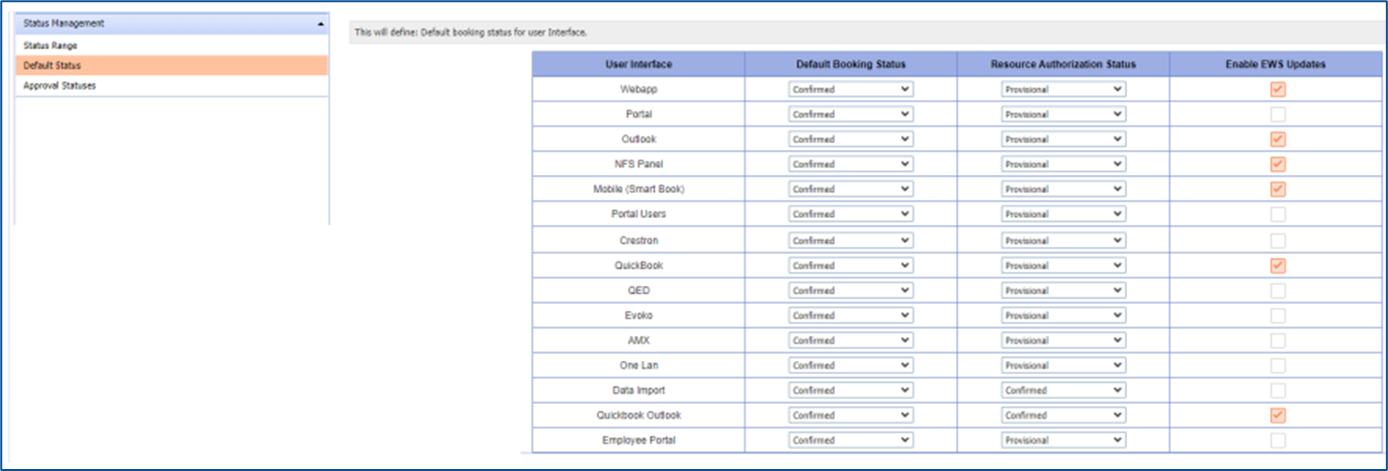
Navigate to Administration => Settings => Global Business Rule Settings
Select the ‘Status Management’ category and then select ‘Default Status’
Against the setting row for ‘Webapp’ check the check box in the ‘Enable EWS Updates’ column
Check other UI types, which are usually already set.
Set the system users to use a specific Exchange connection. The Exchange connection must be set up before this step.
Navigate to Administration => User Security => User
Create a new user or open an existing user
Against the settings ‘Exchange Configuration Setting’ select the desired Exchange Configuration setting name.

OR
Navigate to Administration => Settings => Global Settings
Under Exchange Settings, access the Exchange Room Sync settings by clicking the Configure link.
Against the Exchange Configuration, click on Apply under the All Users heading
Note – This will apply the configuration type to ALL users. If using multiple Exchange connections, do not use this option, as it will overwrite any other user’s config

Set the system resources to use a specific Exchange connection. The Exchange connection must be set up before this step.
1. Navigate to Administration => Resource Management => Resource and open a new or existing resource
Set the Exchange Configuration name within the resource configuration
Set the corresponding email address of the Exchange Resource

OR
Navigate to Administration => Settings => Global Settings
Under Exchange Settings, access the Exchange Room Sync settings by clicking the Configure link
Against the Exchange Configuration, click on Apply under the All Resources heading
Note – This will apply the configuration type to ALL resources, if using multiple Exchange connections do not use this option as it will overwrite any other resource’s config.
Note 2 – If using this option, it is still required to set the corresponding email address of the Exchange Resource. This will need to be done manually.
Email Aliases
Should the environment have multiple aliases per user or resource, these can be added on the user or resource configuration page under administration. Use the Employee Sync for users and the Resource Sync Utility for Resource aliases. The primary email addresses for resource mailboxes must be done manually.
Having these email aliases will streamline the Exchange room sync and avoid some issues where a migration has taken place and old email addresses are still in use.
Exchange Synch Booking Import Configuration
This section outlines how to enable and run the Exchange booking import to add existing Exchange bookings to the Korbyt Booking system. If existing bookings are not being synced, then this section is not required.
Note
This is only available for EWS
Graph API does not support this feature.
Navigate to Administration => Global Settings => Click Configure against Exchange Settings
Against the Import column of the correct Exchange configuration, click the Import button
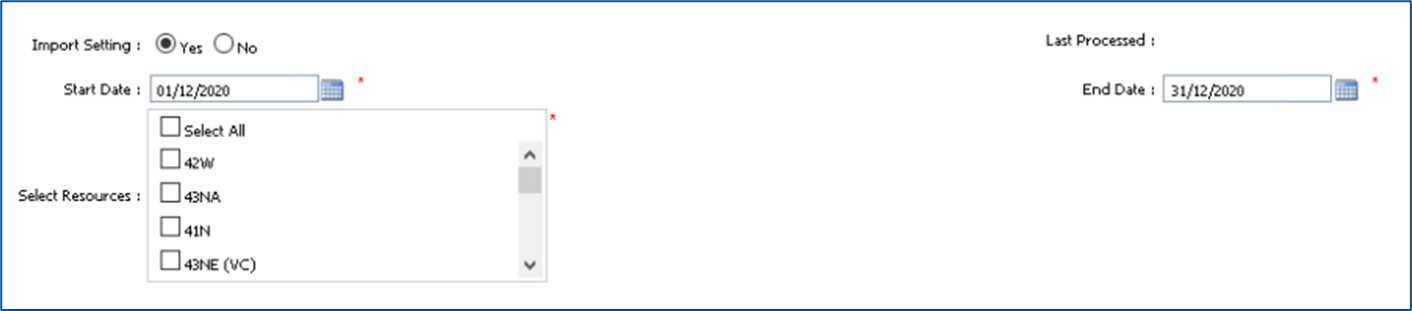
Please provide the details below:
Start Date – The start date range to import bookings
End Date – The end date range to import bookings
elect Resources – All resources that will be included in the import
Save these settings.
After saving, a message will display stating that the import has started

Once completed, a message will display stating that the import has finished
