Using The Media Manager
Storing media items and documents in Korbyt
Written By Ed Kinne
Last updated Over 1 year ago
The Media Manager is the central library where all assets are stored and categorized by folder.
Open by clicking the Mega Menu, and then in the Content column, click Media Manager
Assets can be image, video, audio, and document files. For more information about the specifications for each asset, see Supported Media Specification
Media Manager Folders
You can customize your folder structure as needed.
Folders can be used for Organization, Automation to Playlists, and for locking content so that it is only available to certain User Groups
Creating Folders
Folders can be created in two ways
In the Folder Window on the left
Using the three dots next to a folder
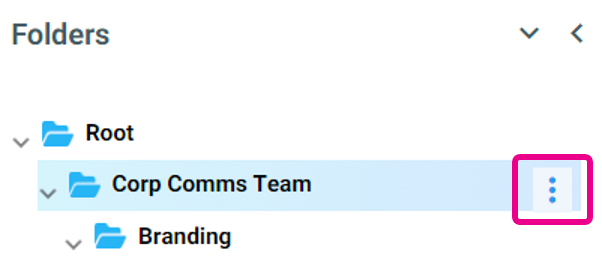
After clicking the dots, you can add subfolders by clicking the Folder+ icong, and delete entire folder by clicking the trash can

Deleting will request confirmation
Deleting is permanent
To rename a folder, double-click on the folder’s name in the Folders Window, or click on the Pencil icon for the folder in the Content window to the right
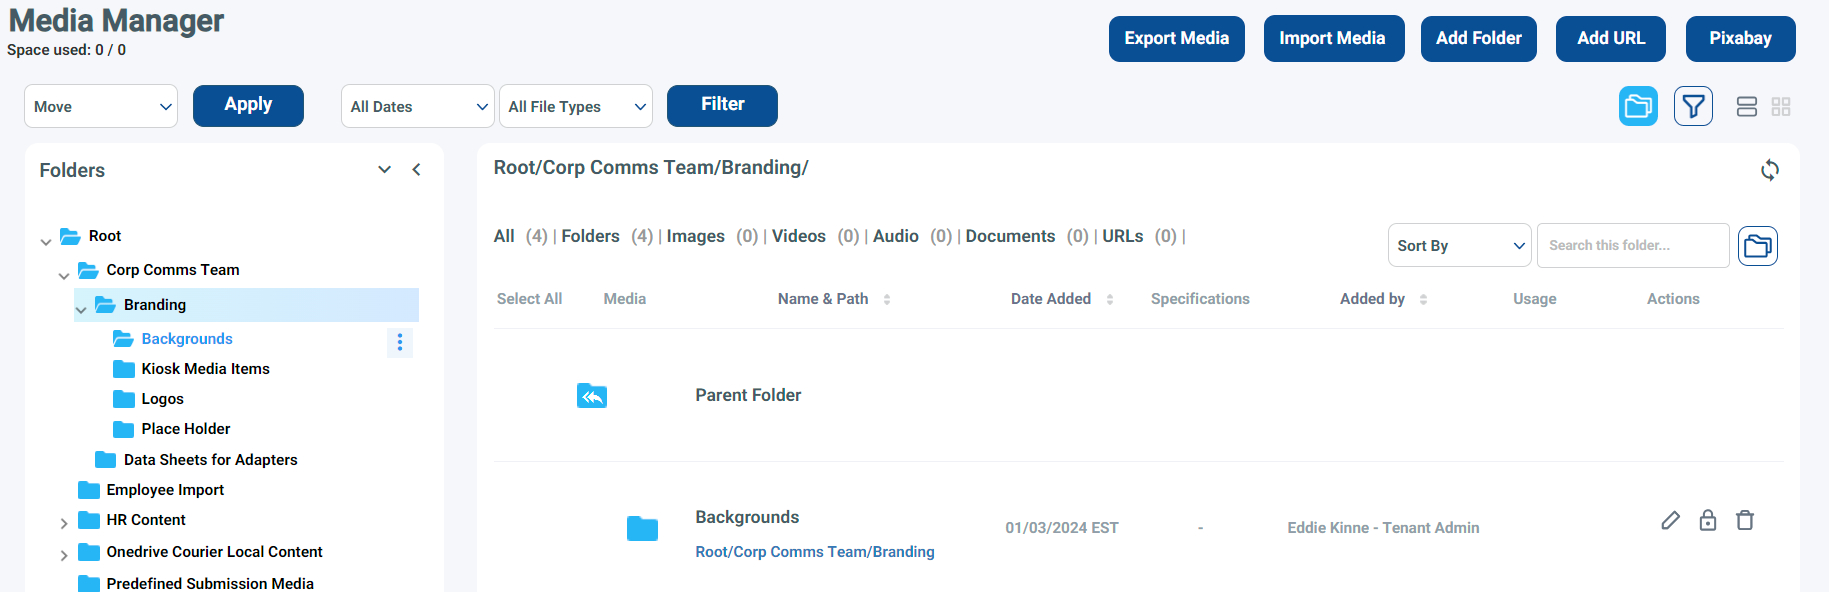
In the Content Area to the right
Click on the parent folder to the left to select that directory
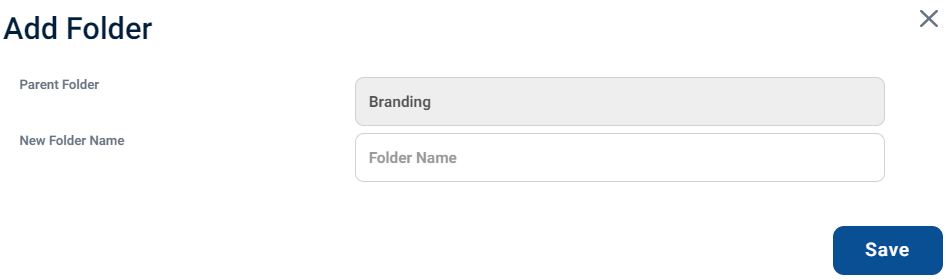
Click the Add Folder button at the top to create a new sub folder
To make changes to a folder, use the action buttons to the right

Pencil will let you rename
Lock will restrict the folder (See below)
Trashcan deletes
The Root folder can not be edited or deleted
All folders will be under Root, and all users will have access to Root level
Folder Permissions to Restrict Access
Folder Permissions allows Tenant Administrators to restrict access to a folder and it’s contents to certain CMS User Groups
If you need assistance creating User Groups see How To Manage CMS Users And User Groups
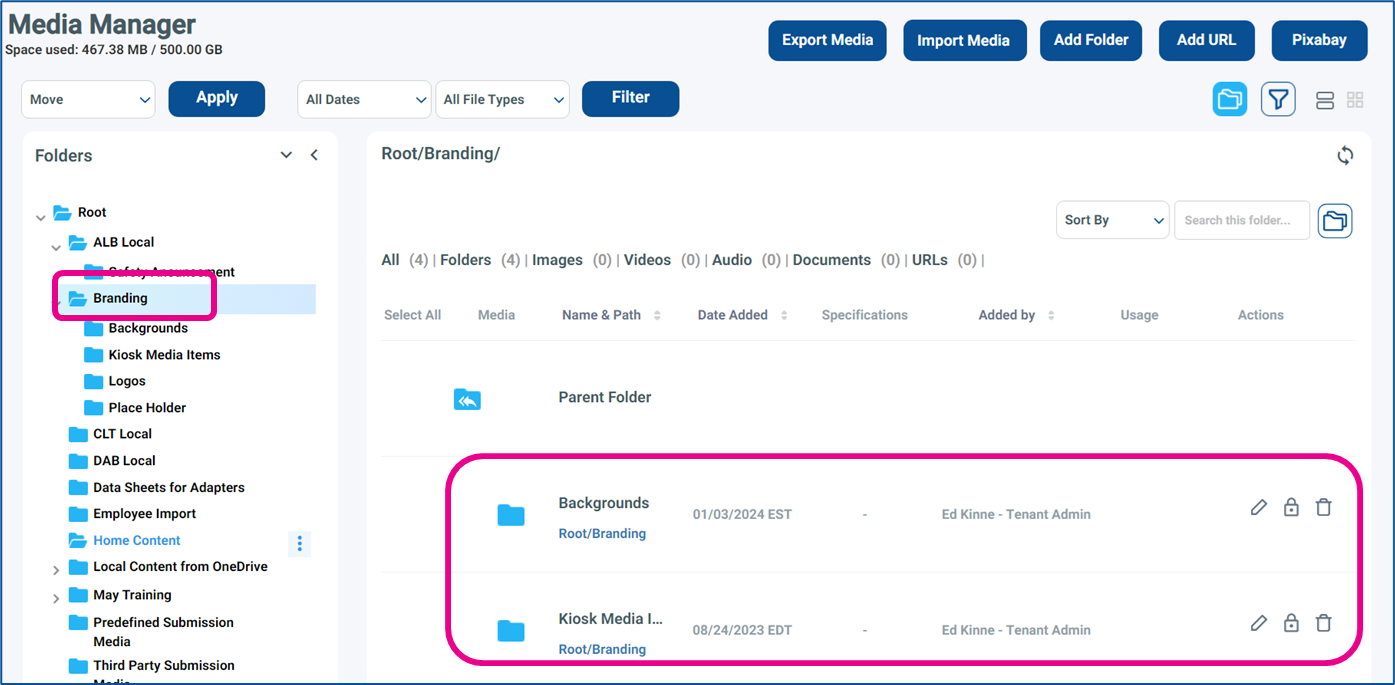
In the Media Manager, use the folder structure on the left to click on the parent of the folders you want to modify. This will show folders in the main window
In this example, I want to modify the permissions for the items in the Branding folder, so I click on Branding on the left, and it shows all the sub folders as items in the main view
Click on the Lock button to open the user Group Access.

On this window select the user group name being authorized to have access to the selected folder. Tenant Administrators always have to have access, and you will receive an error message if they are not selected.
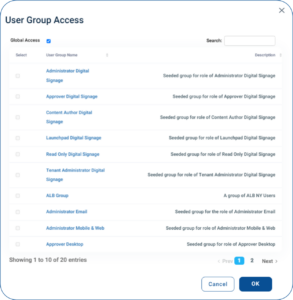
Click on the OK button to apply the changes
If you do not have all Tenant Administrator groups selected, you will receive an error. Select the groups that the error instructs are required
You will be asked if you want to apply these new permissions to all subfolders under the one you are editing
Adding Media Manually
Import Media
Click Import Media at the top
Assets are saved into the folder that was selected before you clicked Import Media.
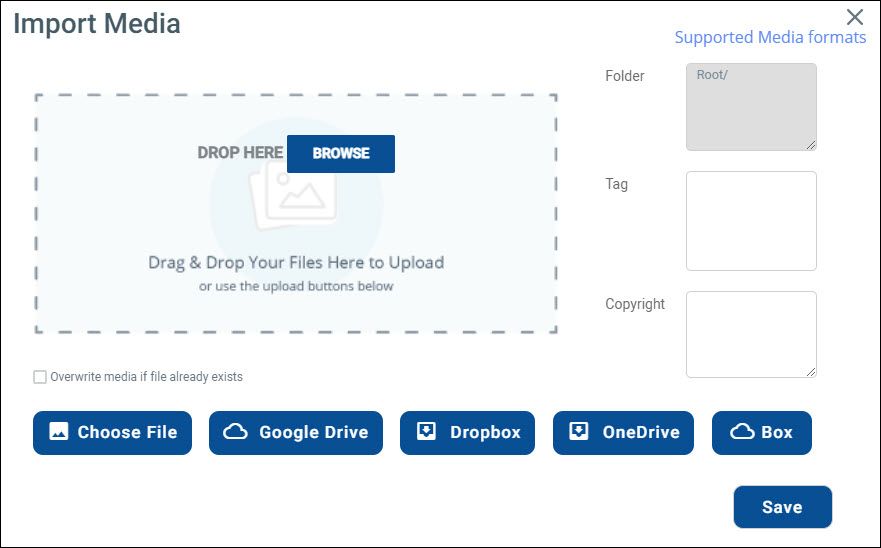
Upload the necessary assets by:
dragging and dropping files.
clicking Browse or Choose File to select files from your computer.
OR selecting files from a cloud drive such as Google Drive, Dropbox, OneDrive, and Box.
This will open a pop-up to allow you to log into and select items from the service
If you want the system to check for existing assets when attempting to upload the new file, select the Overwrite media if file already exists checkbox.
Enter any Tags that should be attached to the media being imported
For more information see Tagging In Korbyt
Click Save.
Add URL
Compatible URLs can be added as Media Items that can then be scheduled to display through a Playlist.
The URLs used must support remote playback
If there is a restriction in the Website’s security you will see a “Failed” message when saving
Click Add URL
Enter the URL Information
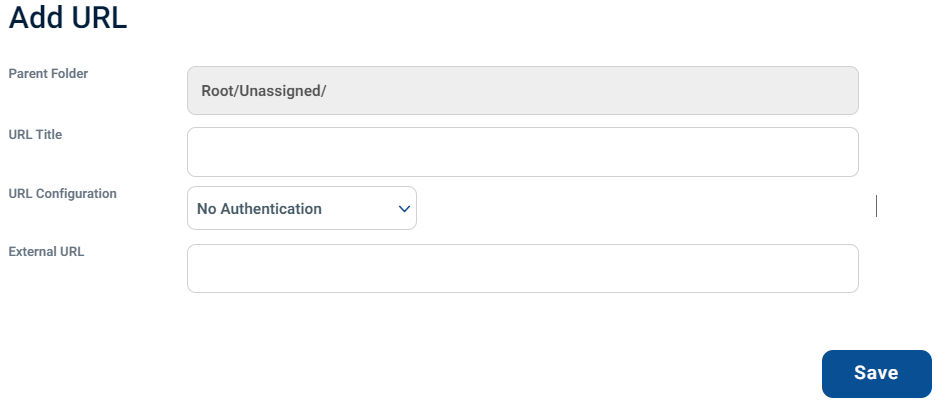
Title will be the name of the item in Korbyt
External URL is the web address, including https:// for the site
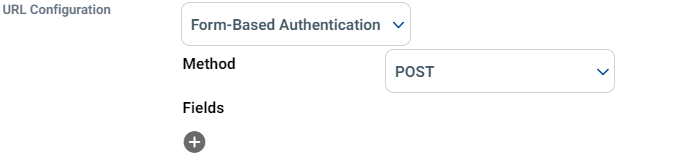
The form allows for Form Based Authentication through Post or Get methods
Click Save
Pixabay
Korbyt includes a connection to the Pixabay stock photo service.
Pixabay is not available for On-Premises server deployments
Click the blue Pixabay button in the upper right
Accept Terms of Service if first time using
Then search Pixabay based on keywords that describe the type of stock photo you re looking for
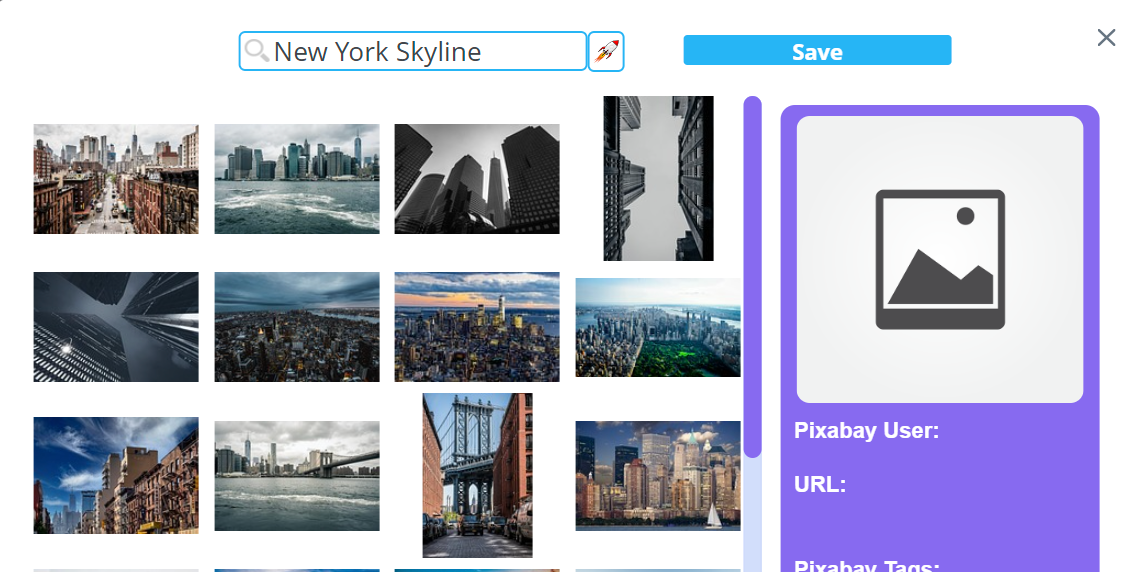
Click on up to 5 images to copy them into your Tenant
Click Save
You will now have copies of those images in your Tenant
Managing Items in the Media Manager
Moving Items from Folder to Folder
You can move items by clicking and dragging
You have to click the item or folder on the right-hand “Item” side and drag to the new folder on the Folders view to the Left
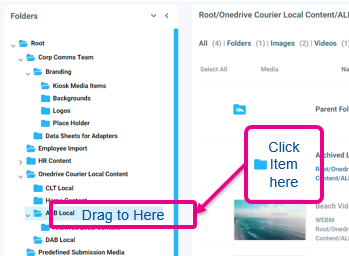
You can not click and drag items just inside the right-hand side item view
Managing Multiple Items
You can also move, copy, and delete selections of items using a drop-down menu
Click to the left of the item’s thumbnail to select an item
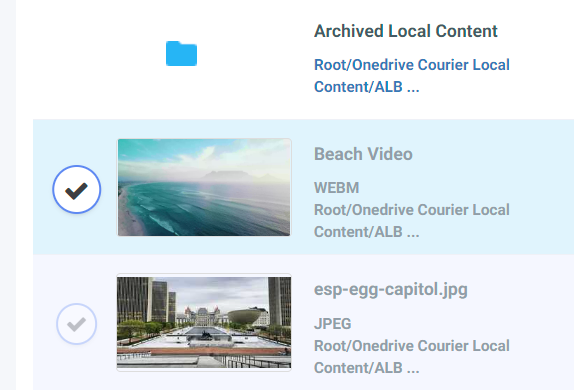
You can select multiple items by holding either the Ctrl key or Shift key on your keyboard while clicking
Once you have your items selected, use the Drop-Down in the upper left to select the action
Just above the Folders Window

Move - Moves the items to a new folder
Copy - Creates copies of the items in a selected folder
Delete - Deletes the items
Deleting will request confirmation
Deleting is permanent
Editing Items
Editing items is done with the Action buttons to the right of each item
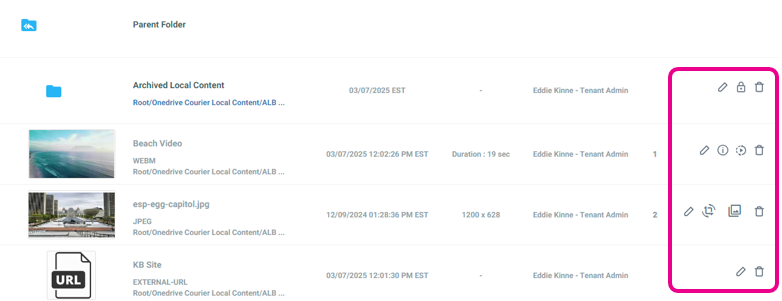
The actions available to edit an item, and the information that can be edited, will depend on the individual User’s Role in Korbyt and the Type of Item
The Trashcan will delete an item
Deleting Items requires the user to be an Approver level or higher
Deleting is permanent, and will always ask for confirmation
Working With Images
Images have 3 actions available besides delete

Pencil - Opens the Image’s Details such as Name, Tags, and Validity Dates
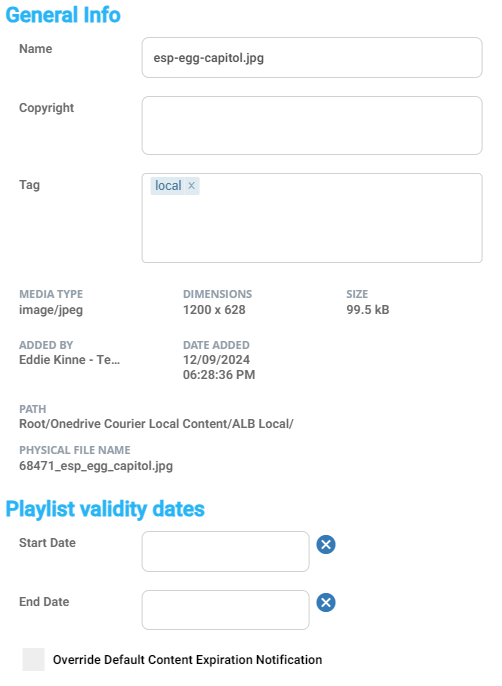
Tags can be used for Organization and Automation
For more information see Tagging In Korbyt
Validity dates will control if an item gets played based on a specific date and time
For more information see Validity Dates
Crop - Opens a window to create an adjusted and cropped image
Use the tools at the top to make adjustments
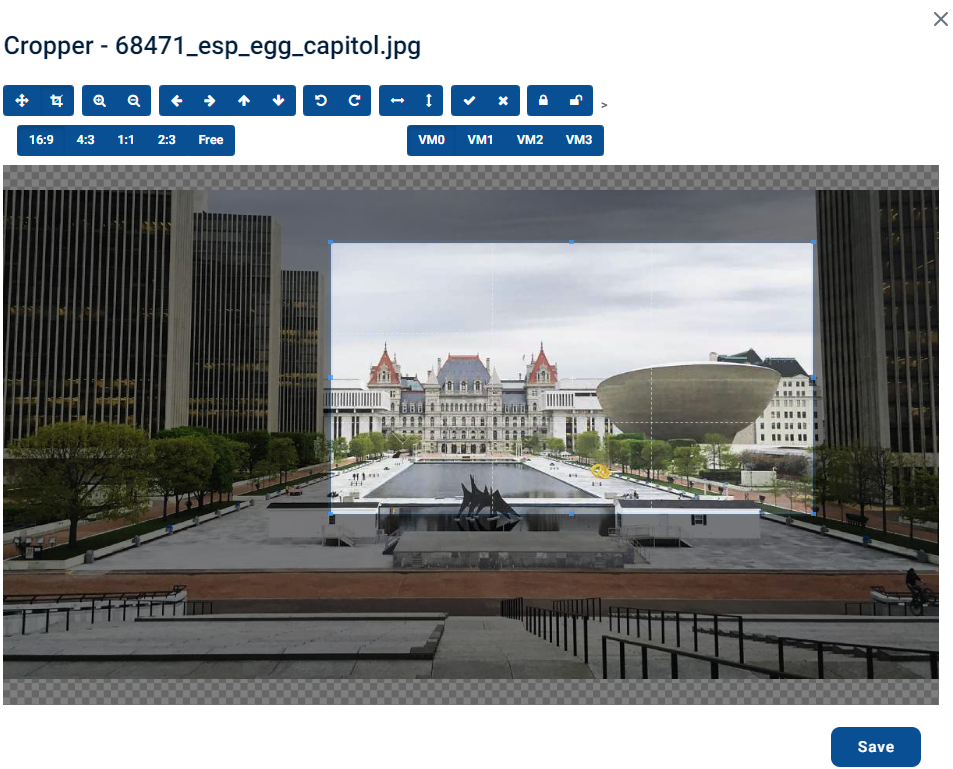
Clicking and Aspect Ratio will lock the selection window into that ratio
This will create a new image file in the Media Manager
The new file will not inherit any of the Tag or Validity Date details of the original
Apply Filter - Opens a window to apply a color filter to the image
Select a filter from the available effects listed along the bottom
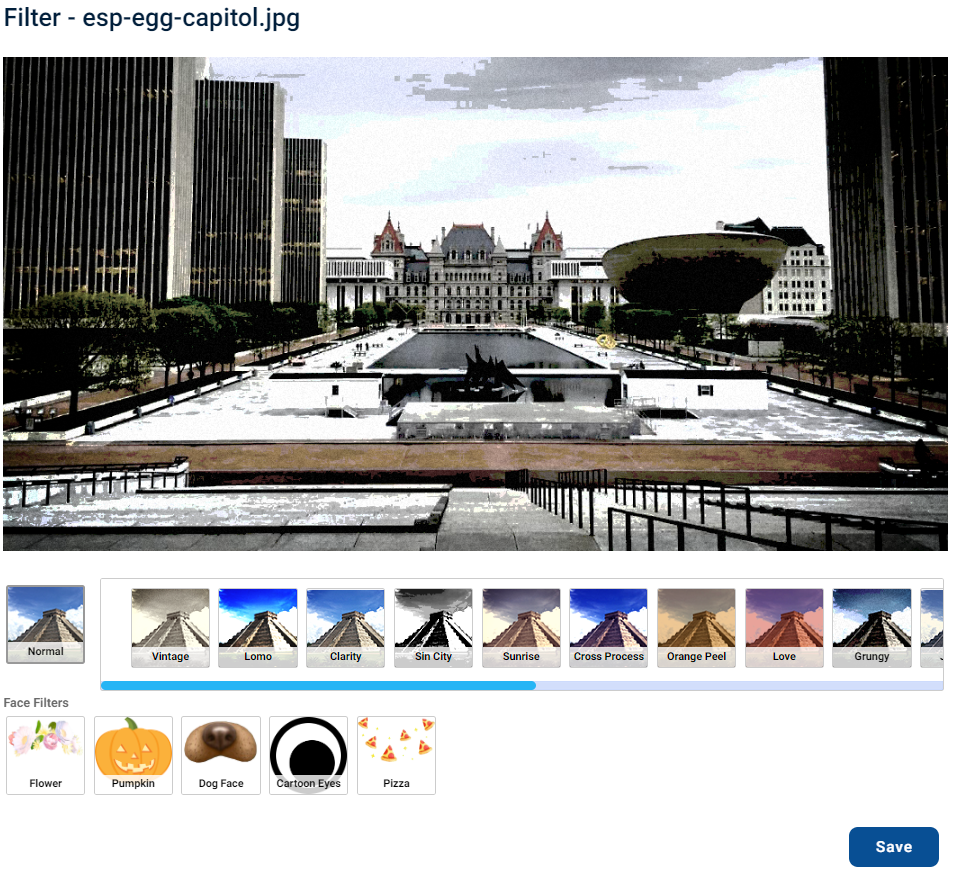
This will create a new image file in the Media Manager
The new file will not inherit any of the Tag or Validity Date details of the original
Working with Videos
Videos have 3 actions available besides delete

Pencil - Opens the Video Details such as Name, Tags, and Validity Dates
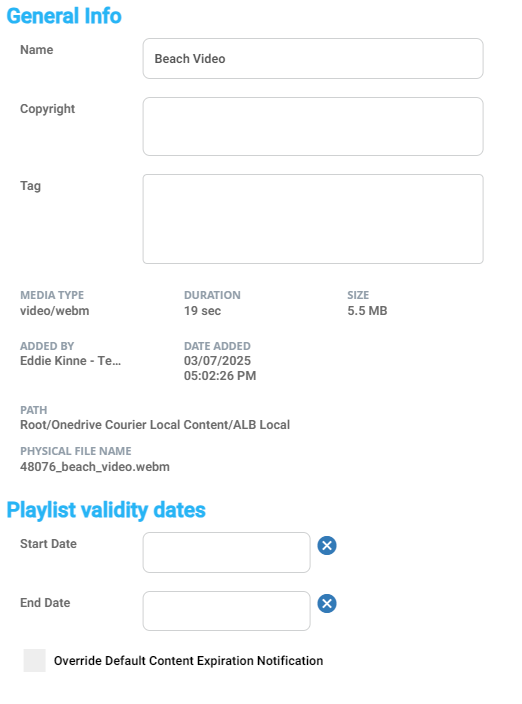
Tags can be used for Organization and Automation
For more information see Tagging In Korbyt
Validity dates will control if an item gets played based on a specific date and time
For more information see Validity Dates
View Metadata - Opens a window to view all the video files’ metadata
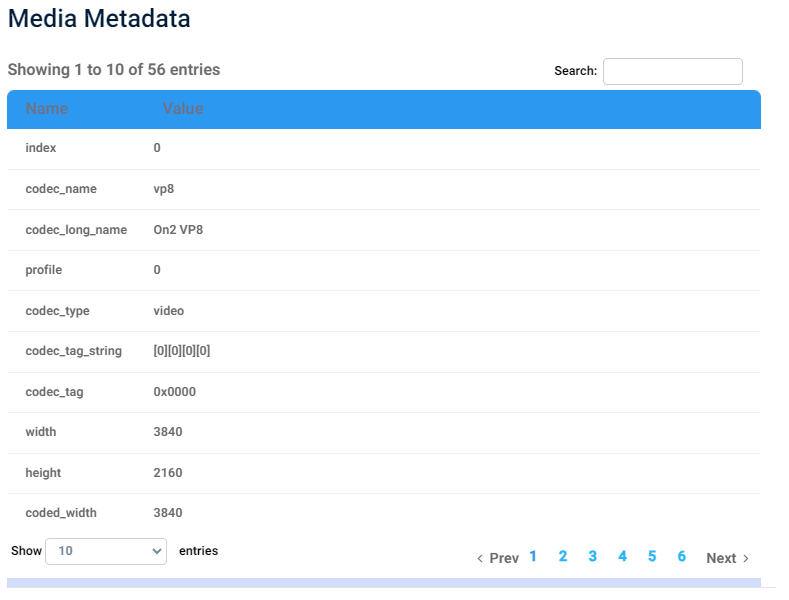
There is considerable metadata associated with video files, and you may have to page through them
Transcode Information - Shows information about contacting support for a video file with a Bitrate that is too high

Actual transcoding of the video file will be done locally on a computer and not in the cloud
Working with other Document Types
Documents (PPT, Word, CSV, and others) can not be scheduled to Playlist directly
Documents in Korbyt can be added to the screen through the Document Element in the Layout Builder
Documents can also be shared as Resources through the Mobile & Web application
CSV Documents are used in CSV Data Adapters
When you click the Pencil Icon you can
Change the file’s name
Add tags for Organization, but they will not automate to screens
For more information see Tagging In Korbyt
There is a section for Validity Dates, but Docuemtns can not be schedule to playlists, so the Validity Date section is not applicable for Playlist controls
Power Point (PPT) and PDF Documents
When a PPT or PDF file is imported to the Media Manager, the Korbyt system will automatically translate the file into a series of PNG images and save them in a new folder that shares the same name as the original file.
The system does this to be helpful because PPT and PDF files can not be scheduled to a Playlist directly, but the PNG Images can.
Due to the nature of custom fonts available, it is possible that in this process the fonts in your files will be changed to more redily available MS Fonts.
To avoid this, it is Advised to save PPT and PDF files as images on your local computer, then upload the image files
Item Usage Tracking in the Media Manager
Image and Video files that are used in the system (In a Playlist or added to a Layout & Messages) will show their usage count in the Media Manager
In the Media Manager, the usage count is located next to the action icons in the media manager
Clicking the number shows the details on the usage
