Create, Manage, and Assign Desktop Messages(InViews)
The designs seen by a user on their Desktop Software
Written By Ed Kinne
Last updated Over 1 year ago
What are Messages
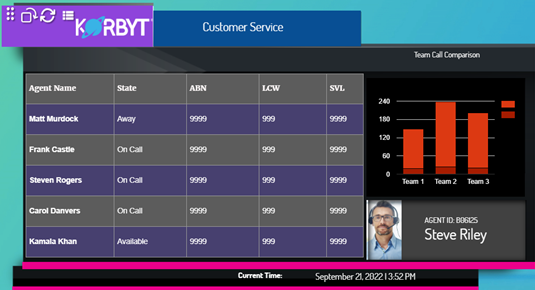
Messages are the specific designs built to be assigned out to Desktop(InView) Users and are viewed through the Desktop Software. They are similar to Signage Layouts in that they use the Builder Tool to design them based on elements.
This article reviews the basics of managing and creating a new Message.
For detailed instructions for the Layout Builder and editing a Message, see
Using The Builder Tool For Layouts Or Messages
Managing Existing Message
After Messages are saved and/or published, you can perform the following actions from the Message Dashboard:
The actions that are available for a Message will vary slightly based on it being in Draft or Published status

Creating a New Message:
The following section reviews the options when creating a new Message and the steps involved.
Click open the Mega Menu in the upper left, and in the Desktop Section click on Message.
On the Message Screen you will see existing Messages and be able to create new ones

Click Create Message to begin the process of creating a new Message
Add Message - will create a Message that is dynamically sizable

This path will create a Message that the user can dynamically resize and elements of the design will shift based on those user changes
Add Fixed Message - will create a message with a set pixel size
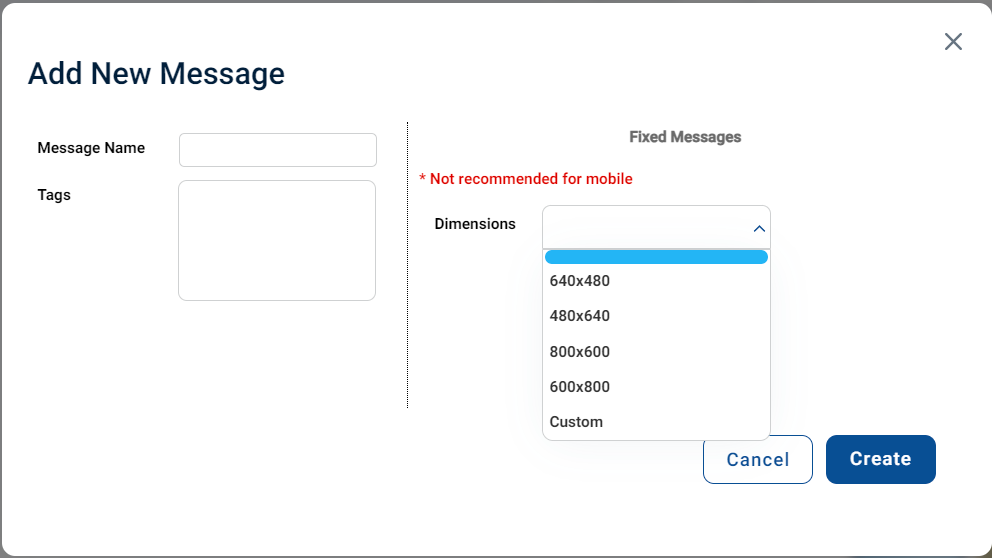
This will create a design that is locked into a specific dimension in pixels that you set in this creation step
Enter a Message Name.
Click Create and you will then be in the Message Builder Tool
Editing A Message in the Builder Tool
When editing a Message, you use the Builder Tool that is shared by the Layout System.
For Detailed Instructions on the Builder Tool see Using The Builder Tool For Layouts Or Messages
One Unique Feature of the Builder Tool for Messages is an Audience button at the bottom of the Control Panel

Audience Assignment for Messages
Messages are Assigned to an Audience of Users.
The steps for managing the individual users and putting them in audiences can be found in Managing End Users for Desktop(InView) / Mobile&Web
If you do not require unique audiences for different assignments, then your Messages can be assigned to the Global Audience of all End Users
Setting Assignment in the Builder Tool
The Audience can be selected in the Builder Tool while editing the design
In the Builder Tool, click the Audience Button on the bottom of the control panel
The Assign Audience window will display
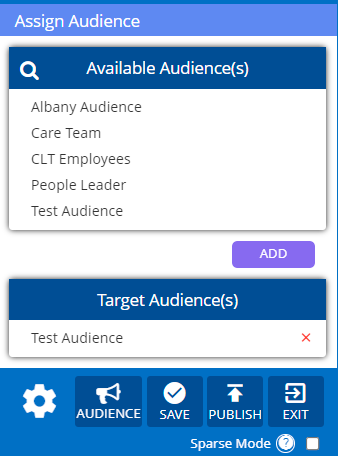
Click the Audiences you wish to add in the Available Section
They will highlight purple
Click the Add Button
You will see the Audiences listed in the Target Audience Section
To Remove an Audience, click the red X next to it in the Target Audience section
To close the Audience Window, click the Elements tool at the top of the control panel

Setting Audience on the Assignment Screen
The Assignment screen allows you to see all the Desktop Assignments, create new Assignments, and manage Assignment Options
You can find Assignments in the Mega Menu in the Desktop section.
You can find Assignments in the Mega Menu in the Desktop section.

For Existing Assignments
You will see existing assignments to the left
The names are based on the title of the item that is assigned
Active Assignments are Messages that have an Audience Assigned and are in a Published State
If a Message is moved to Draft Status it will not be seen in teh Active Assignments section until it is Published again
If you click an existing assignment, you will see a preview of the content assigned in the center
To the right are the Audiences that are assigned the message
Below, the Audience are options for how this assignment will behave for the end user
For New Assignments
Clicking the Add New button

Opens a menu at the bottom where you can select from Published Messages or Playlists

Audience Selection
When you click Select or Edit in the Audiences section

A window will open to select from the Audiences Create, or
You can select Global Audience to send to all Users
For details on creating Audiences see Managing End Users for Desktop(InView) / Mobile&Web

Assignment Options
Below the Audience Selection, are options that can change how THIS ASSIGNMENT will operate for the users it is assigned to
For Settings that affect all users of the Desktop Application see Desktop (InView) Application Settings
The Settings selected in an Assignment only affect this assignment’s behavior, and can be different for each assignment

The Desktop Assignment Options are
Always On Top
If disabled (Default), allows the Desktop Application to be behind others on the user’s computer
If enabled, forces the Korbty Desktop Application to always be on top of other applications open on the user’s computer
Snoozable
If enabled (Default), allows the user to minimize to the Application to the system tray
If disabled, forces the application window to always be open
Moveable
If enabled (Default), allows the user to move the application around the screen
If disabled, sets the application window to be locked in place
Removes the Grab Bar from the Application Window
Users can move the window to the system tray and the Docking option
Resizable
If enabled (Default), allows the user to click and drag the corner of the application window to resize it
If disabled, the window will always be whatever size and shape it is programmed to be
Lock Aspect Ratio (only applies if Resizable is enabled)
If disabled (Default), along with Resizable, will allow the user to drag the window into whatever shape they like
If enabled, will lock the window into its original aspect ratio when resized
Dynamic Resizing (Only applies if Resizable is enabled)
Custom Dimensions
Sets a specific pixel Height and Width to open as