How to Setup a JSON Data Adapter
JSON Adapters can be used to create a data table in Korbyt fed from a JSON data URL
Written By Ed Kinne
Overview
JSON Data Adapters are one of our available templated Data Adapter Types
Templated Adapters are a subscription feature and requires that you have an Advanced Data Adapter available, if you need access to Advanced Data adapters or need to increase your number of advanced data adapters please contact your Kobryt Sales Team.
Process and Example
This article reviews how to create a JSON data adapter that captures information available from a URL-based JSON service.
The Exact Steps, values, and process may differ based on your JSON Source and data included.
JSON Data Source
You will need to first identify your JSON data source
Many public and private JSON data services are available.
This specific example is going to be using a currently available (fall 2026) JSON data service from Weather.gov
The example below shows how to ingest Weather Alerts using a JSON Data Adapter.
Creating the JSON Adapter
Navigate to Data Adapters / Data Integration using the Side Navbar UI under Data Integration, click on Data Adapters, or in the Mega Menu under Advanced, click on Data Integration
Click Create Adapter
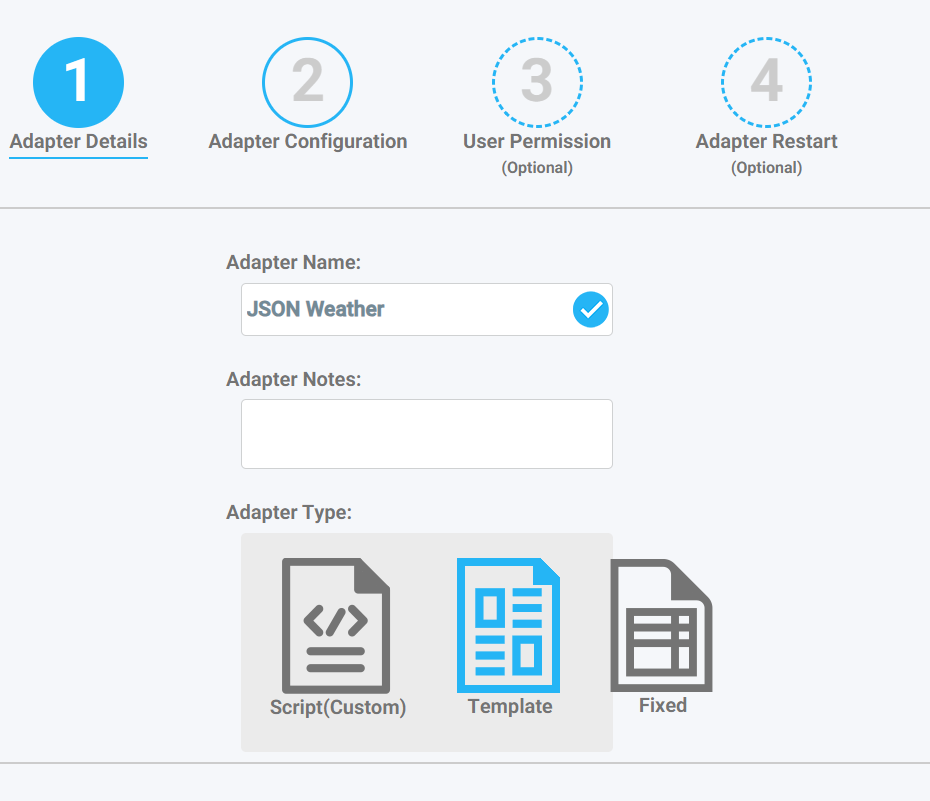
Name the Adapter and select a Template, then click Next
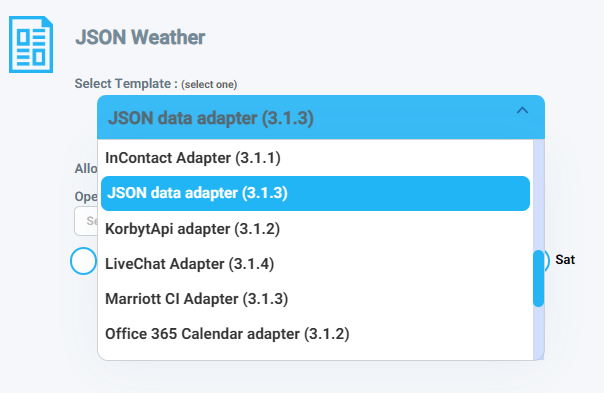
In the drop-down, select JSON data adapter
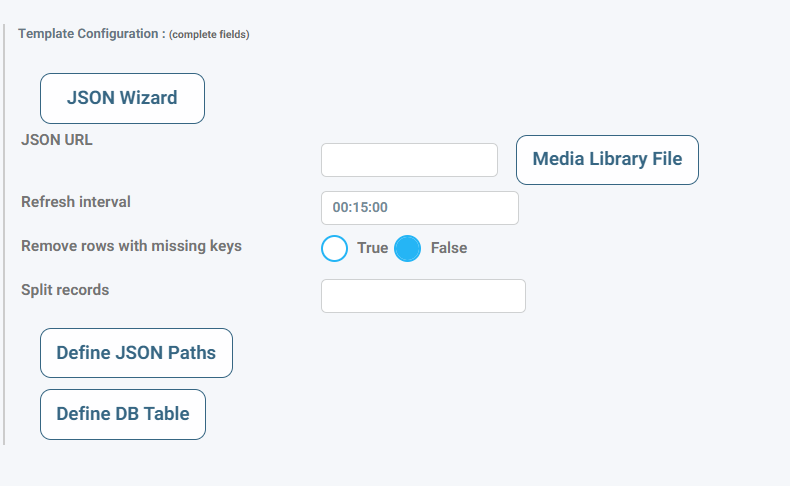
On the right-hand side, click JSON Wizard
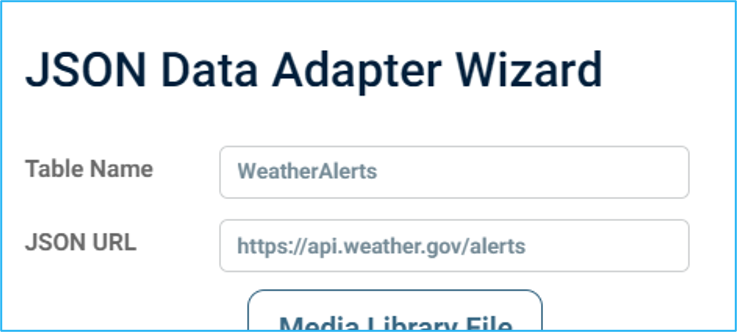
In the JSON Data Adapter Wizard Pop-up
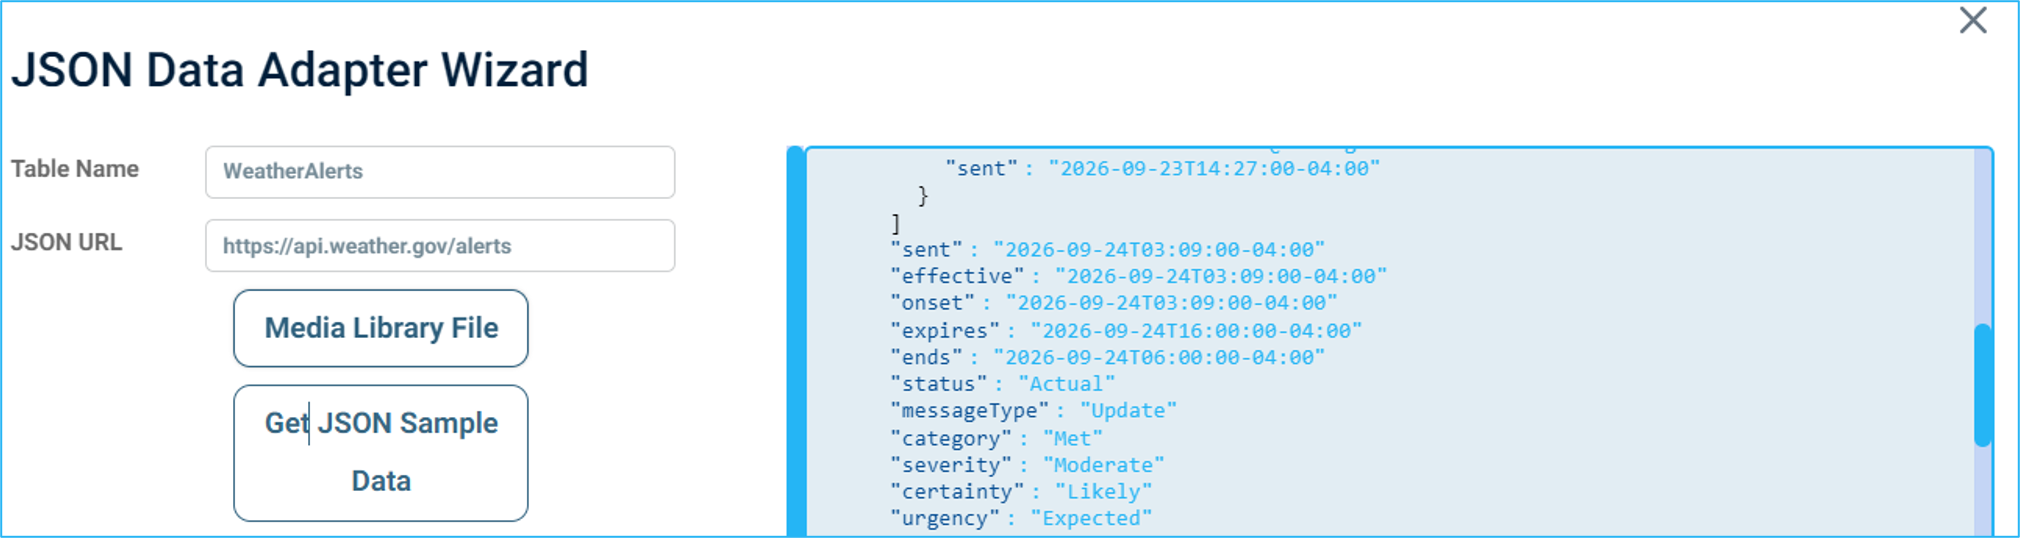
Enter a Table Name and the JSON URL from your Data Source
This Example is going to use https://api.weather.gov/alerts
After you enter your values, click on the blue window or on Get JSON Sample Data to have it load the JSON code example
Splitting Records
Depending on the JSON Adapter, records may need to be Split Records before you create your table
In this example, click on the Blue code example, use Ctrl+F to open the web search, and search for “features”
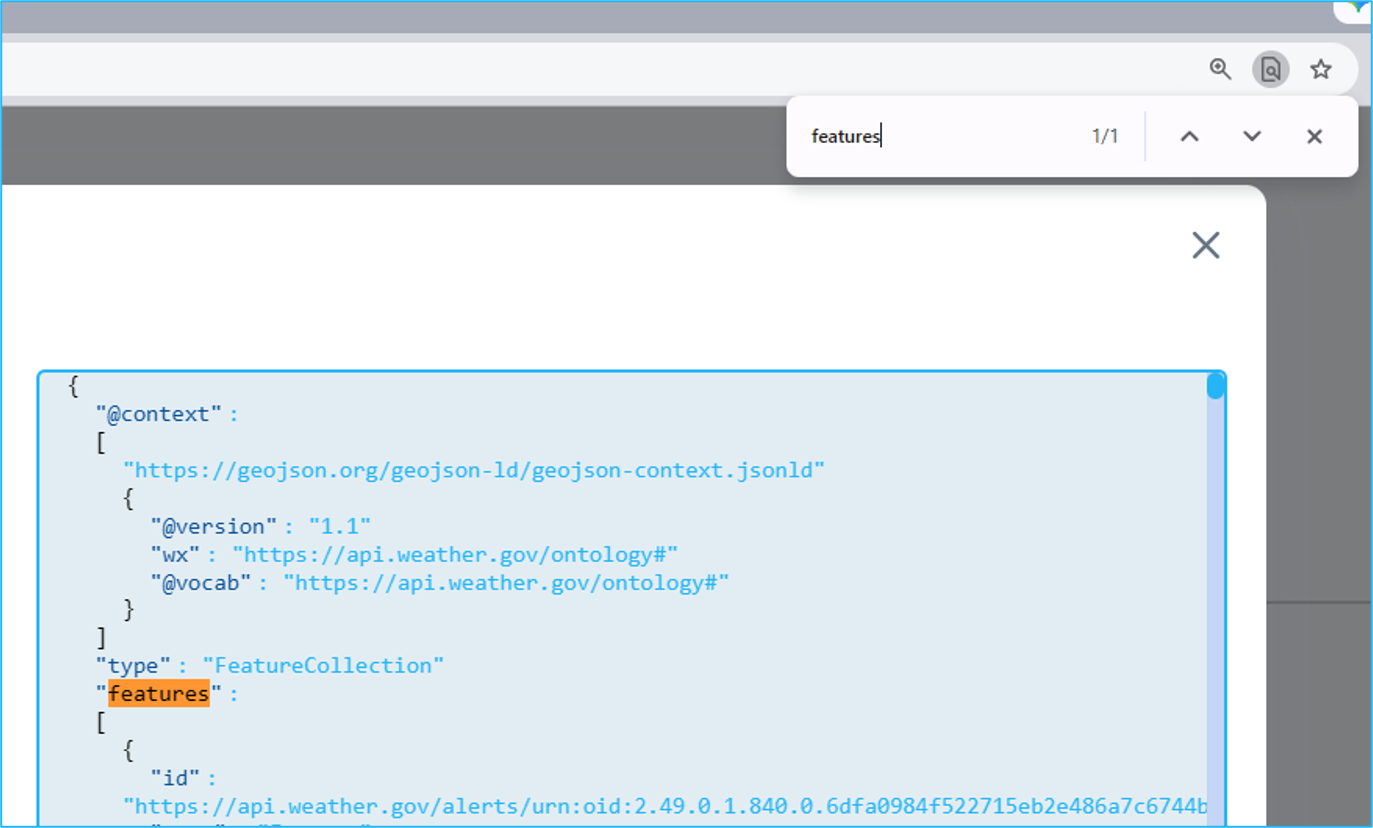
Once found, click on the term and it will appear in the Split Records field
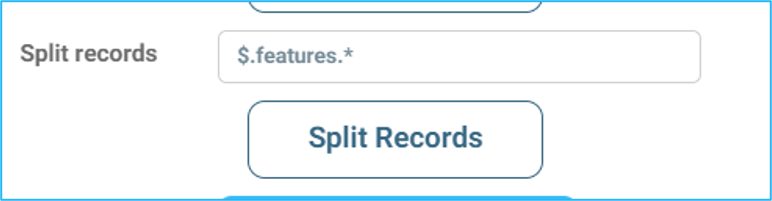
Click Split Records
Creating Data Table Fields
You will now select the fields you wish to include by looking through the sample data and clicking on the field name; this will add it to the data table info at the bottom
Find a data field you wish to include in the sample data window
Click on the field name
It will add an entry to the data table below with the data type that will be in that field.
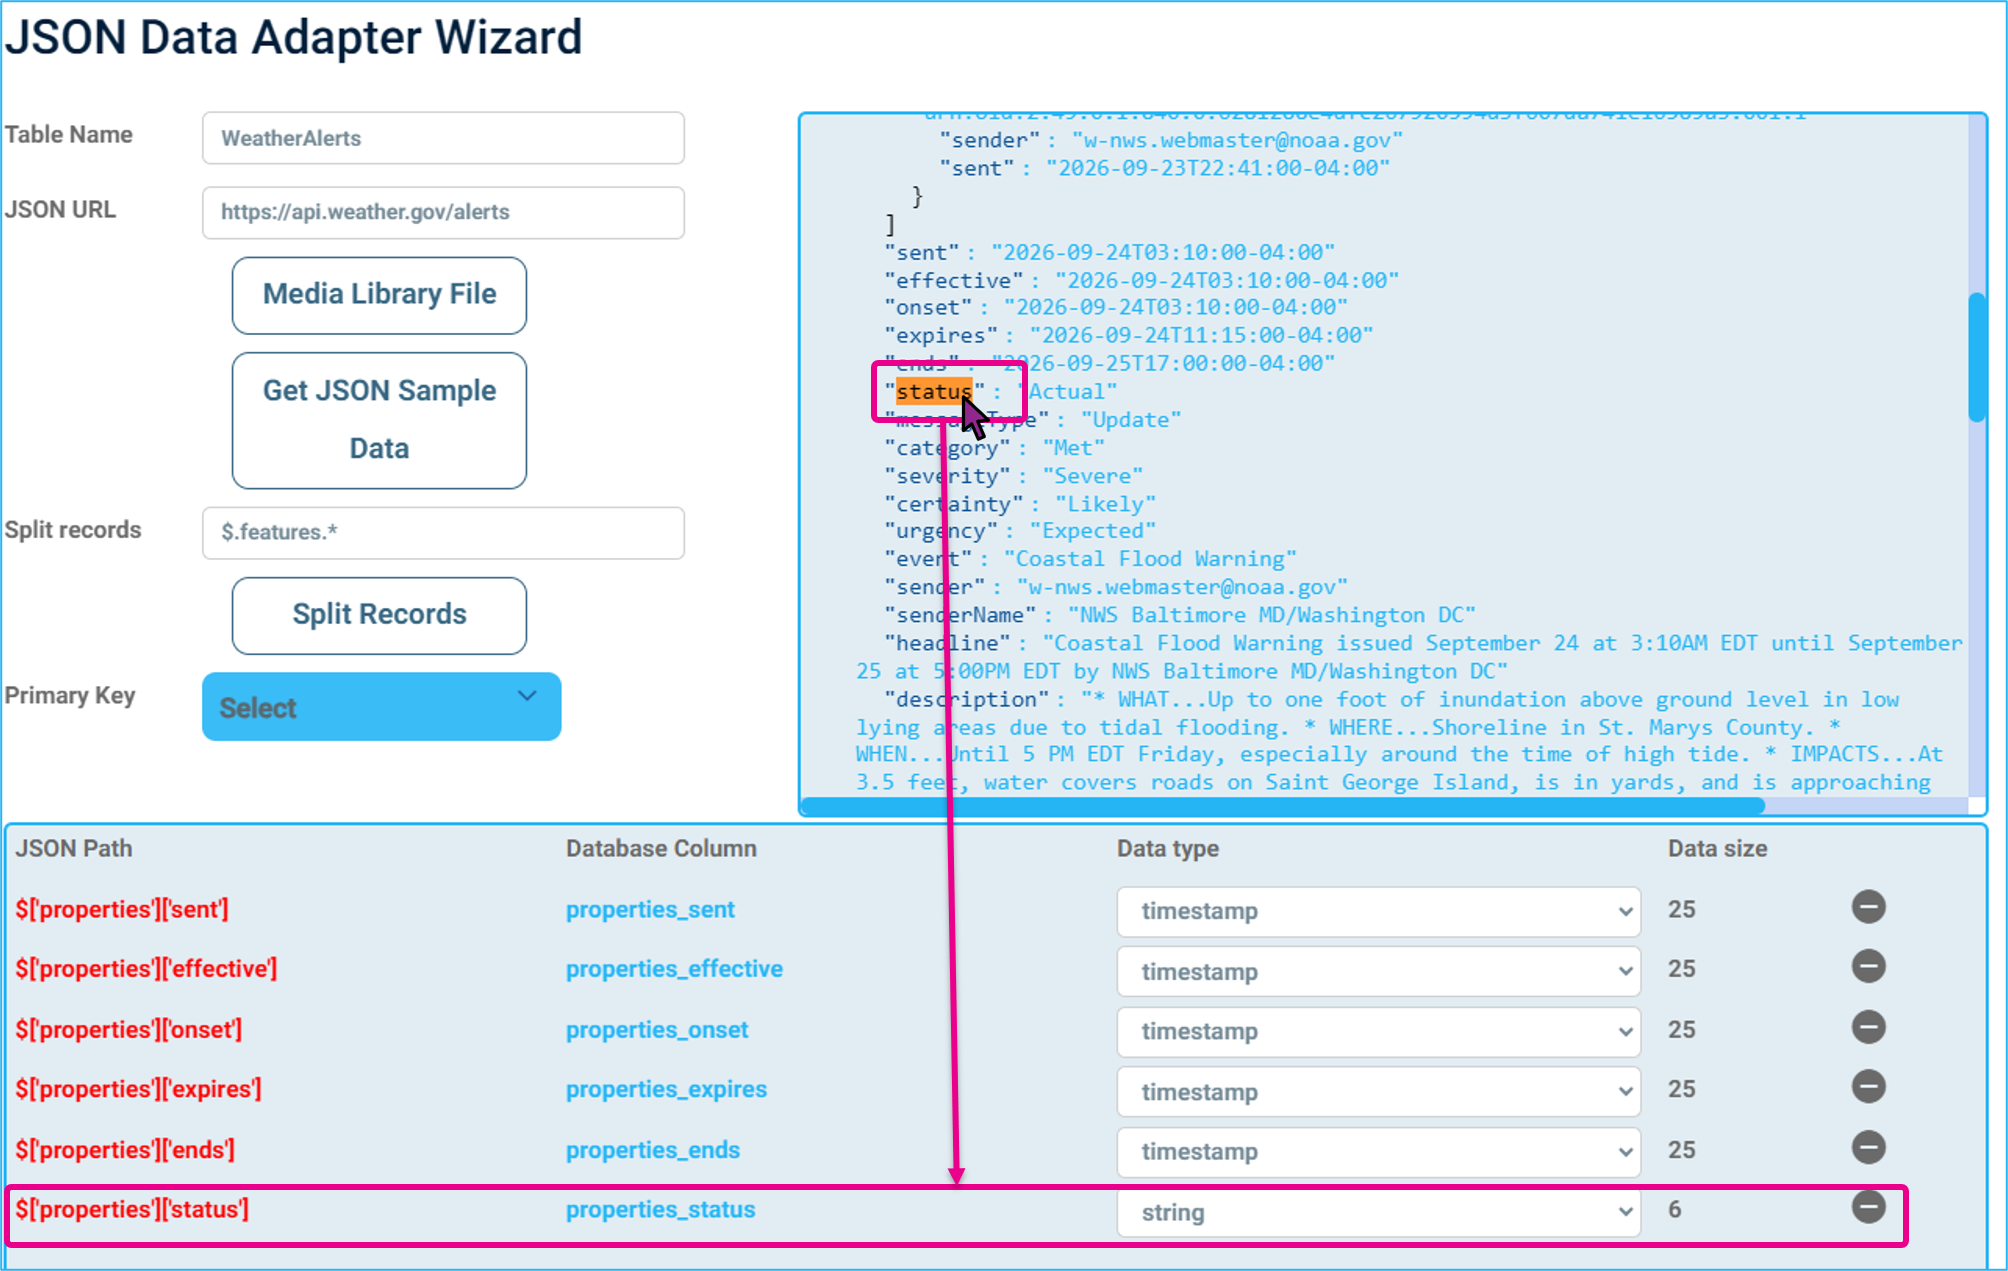
Only the data fields selected will be included in the data table the adapter creates
It can be better to select more data fields than you might want, to make sure the information is included. If you decide you want more data fields in the future, the Adapter would have to be edited.
Primary Key
The Primary Key is a data field identified that will be used to sort the data rows
If not already added to your data table, it may need to be added before you can select it from the Drop-down for Primary Key
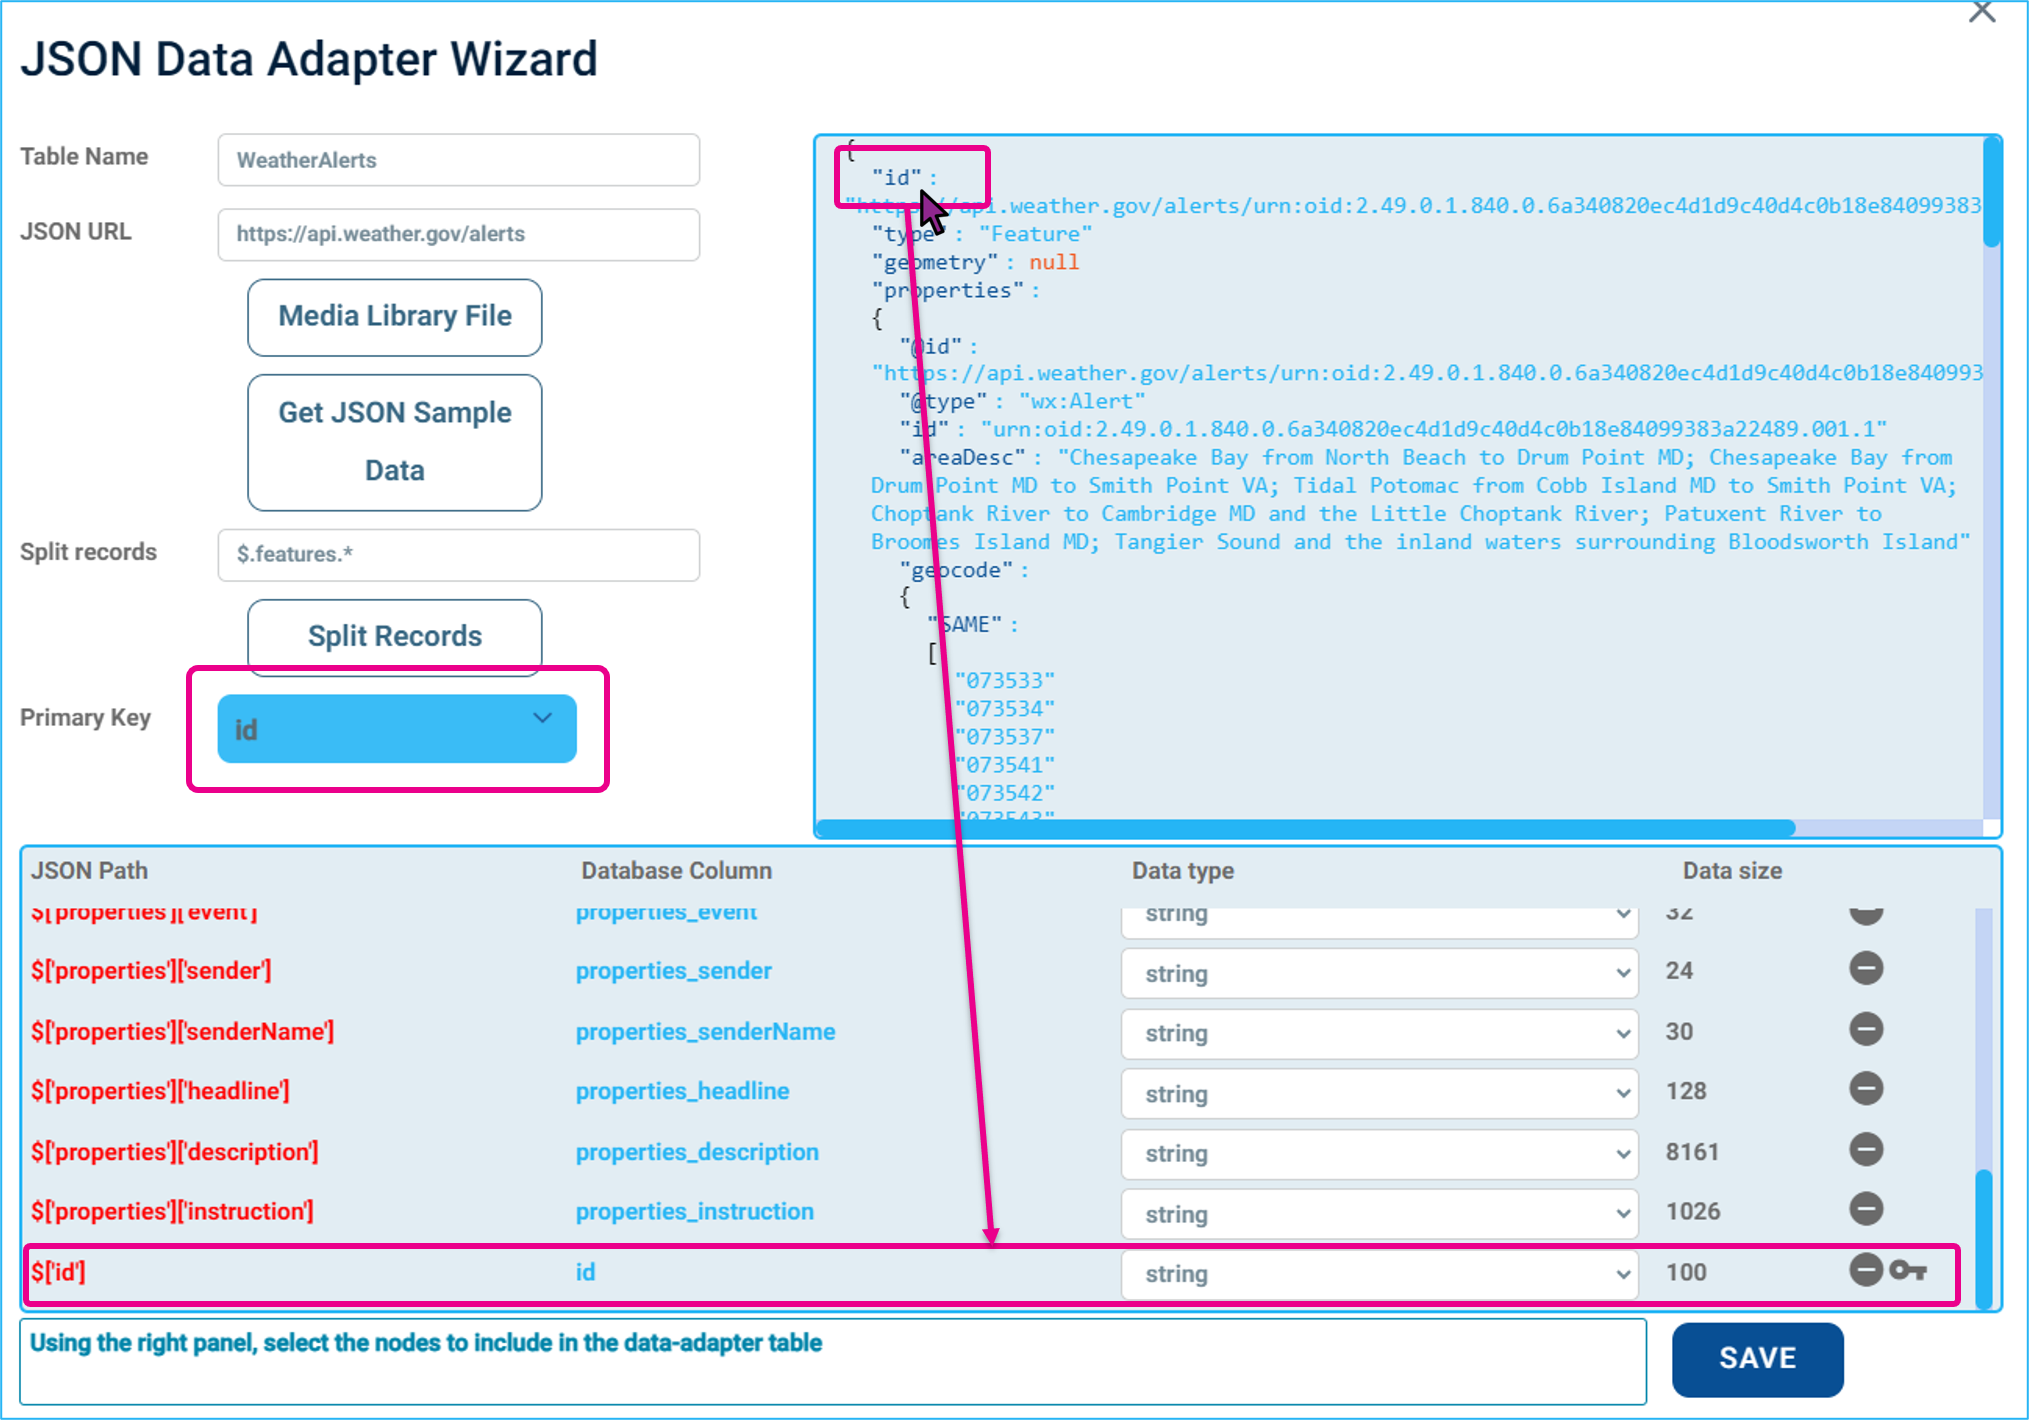
In this example, it is the Data field ID
Once added to the Data Table, it can be successfully selected from the Primary Key drop-down
You can now click SAVE
Turn on the Adapter
Once successfully saved, you can activate the Adapter to start syncing your selected information.
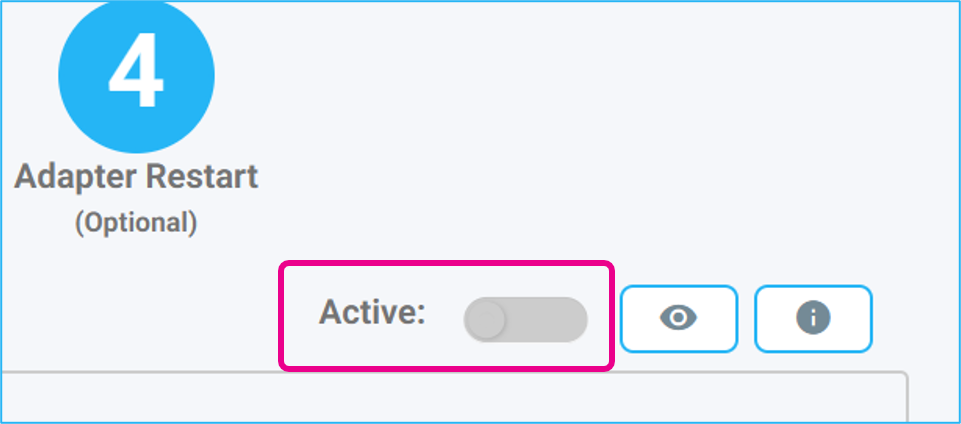
Click on the Activation Toggle in the upper right
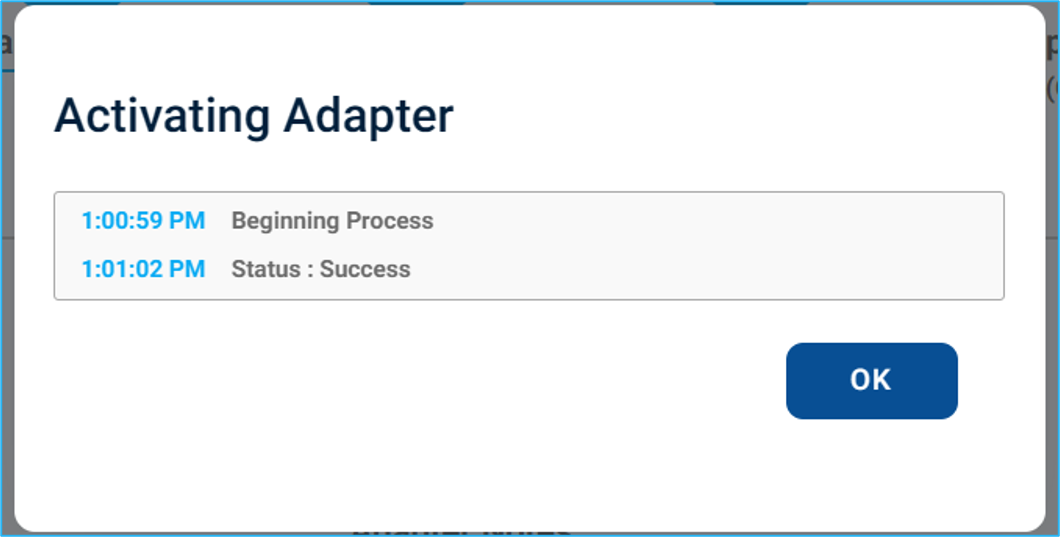
You will see an Activation Adapter status display. When successful, you can click OK to dismiss
Previewing the Data
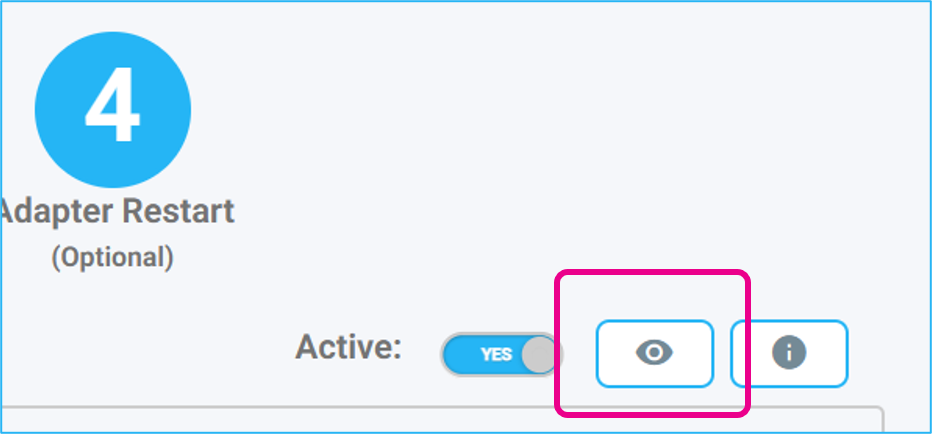
With the adapter running, you can click on the eyeball to view the data table
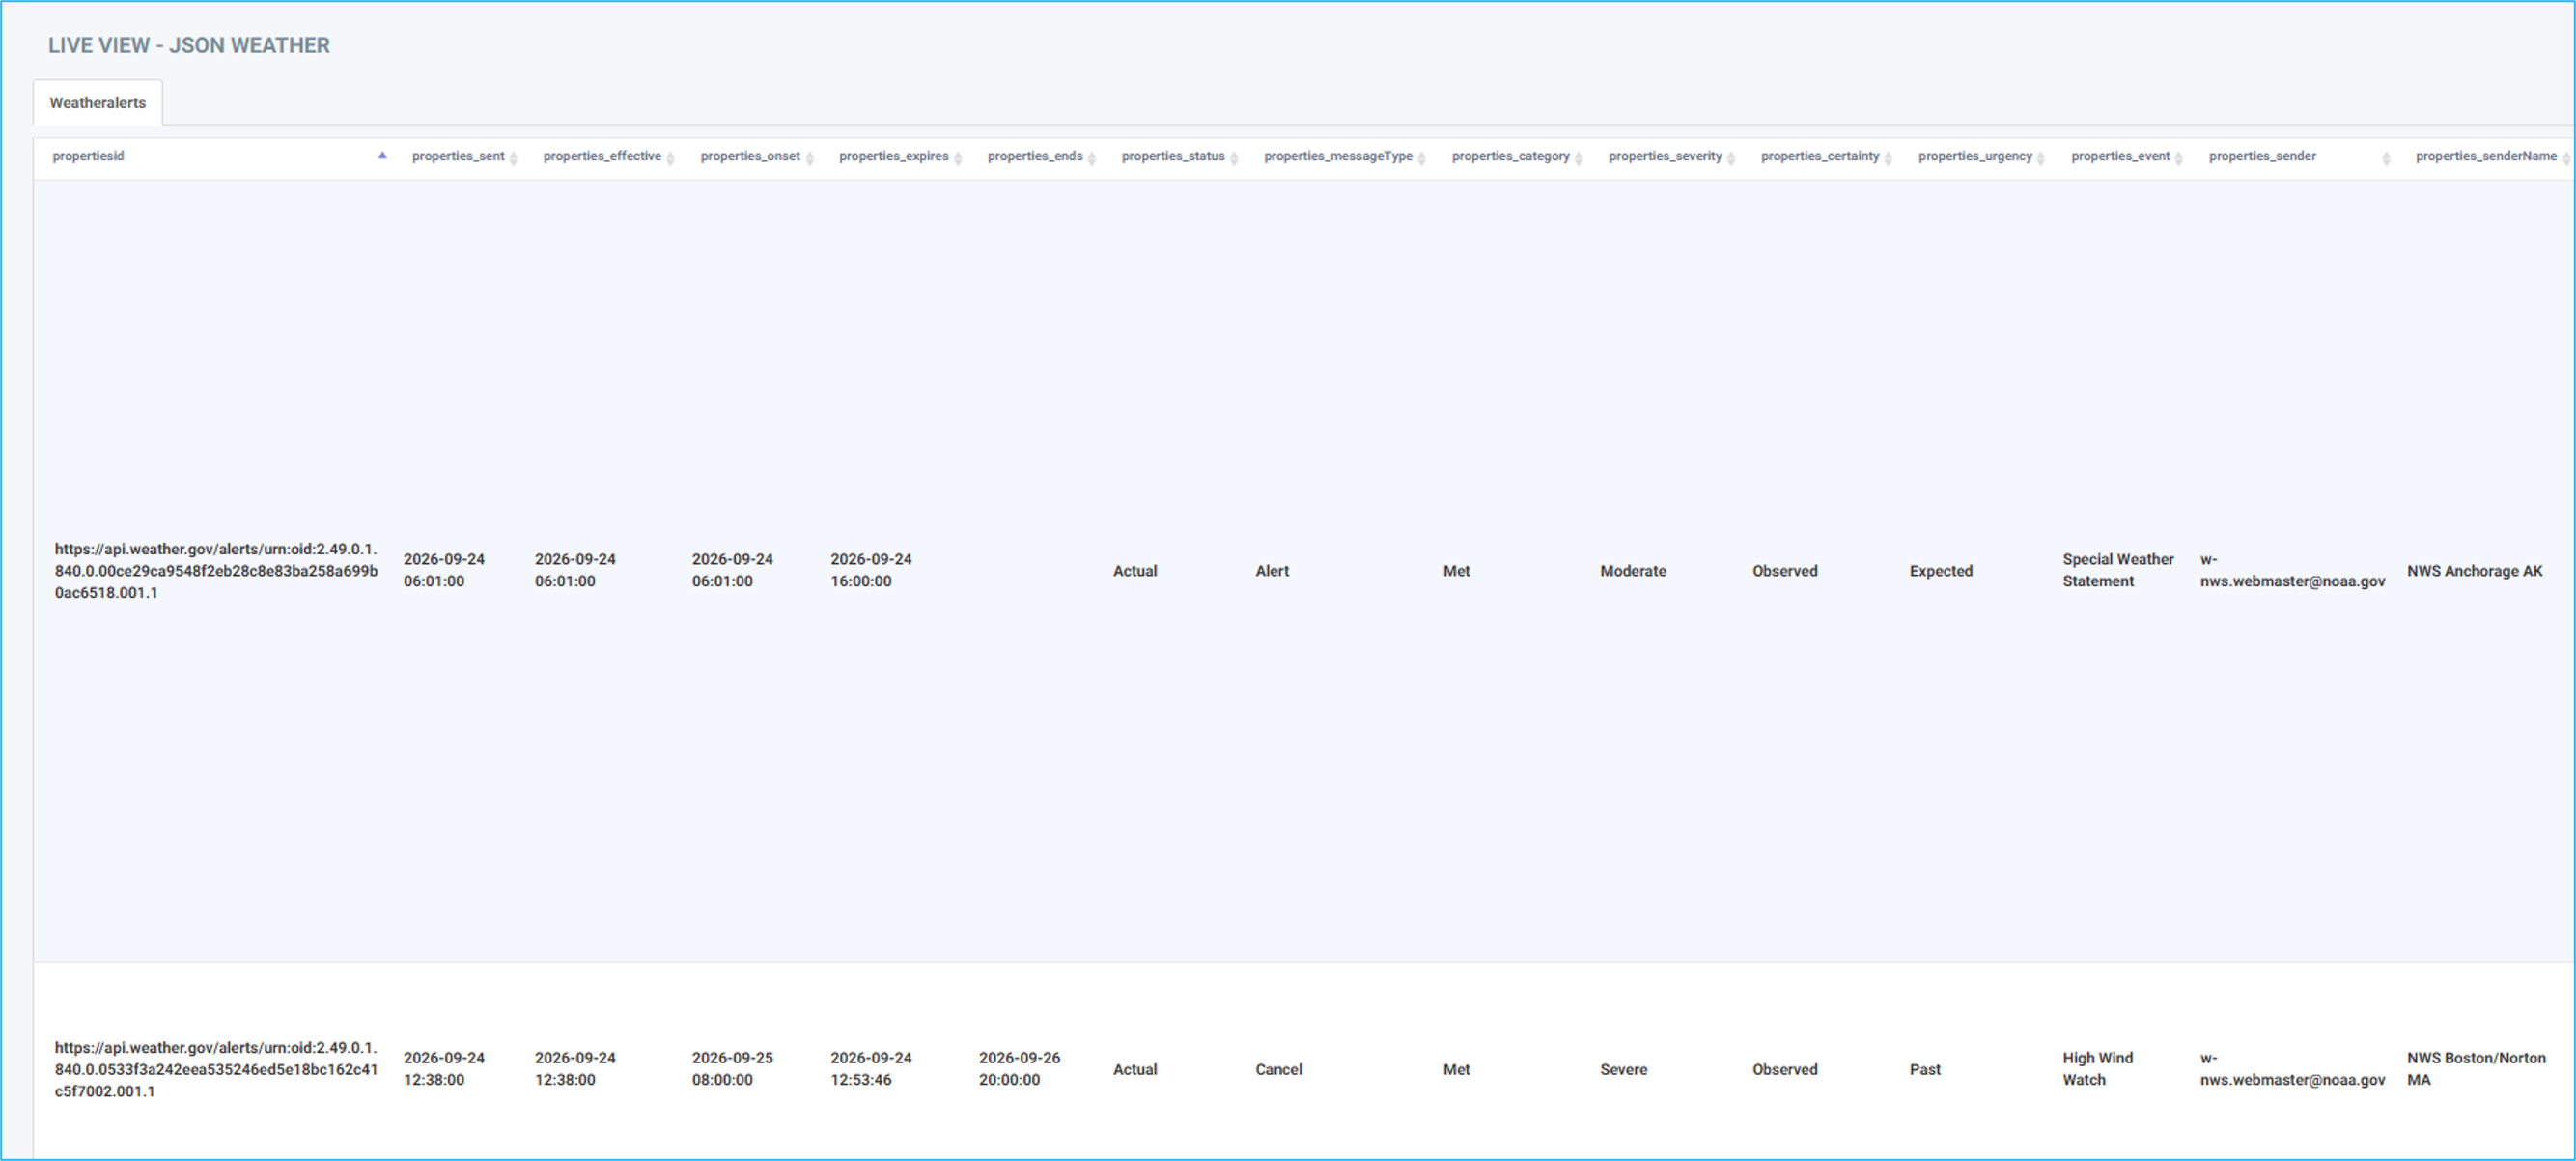
You now have a table of Weather Alert Data provided by Weather.gov
Displaying the Information on Screen
You can now build this information into a Layout Design for display. For more information, see How To Add Data To A Layout Or Message
The options of what to display or how to format it will depend on the infomraiton that the JSON adapter is providing