Korbyt Digital Appliance (KDA) Player Configuration Page
The Web Portal Tool for directly configuring a KDA's device characterists suchs as WiFi, Network Proceies, Timezone, and NTP Time Servers
Written By Ed Kinne
Korbyt Digital Appliance (KDA) devices have a Player Configuration Page that is accessible by entering the Player's IP address into a web browser window.
To access the player at it’s IP address you need to be on the same network (physical or vpn) as the player
You will also need the Username and Password to log into the Player’s Configuration Page
If you need that information, please contact Korbyt Support
Certain Windows and BrightSign devices can also be configured to have the Korbyt Configuration Page as well
The Player Configuration Page is used to carry out tasks like:
Changing Network Settings
Connecting to WiFi, Network Proxies, and Server Address for On Prem or Hybrid Servivces
If setting up WiFi, the device will first need to be connected to an Ethernet connection
Changing the Time Server’s Settings
NTP Server setting
Configuring and seeing the player’s video outputs
There should not be a need to access the Player Configuration Page for day-to-day operation; rather, it is an initial setup or troubleshooting step that may be helpful.
Opening the Player Configuration Page
Enter the IP address for your player into a web browser,
Example: https://162.11.1.32
KDA Virgo Devices require that :8080 be added after the IP Address to direct your traffic to the appropriate data port
Example: https://162.11.1.32:8080
You may receive a security warning stopping you from accessing the device. Because it is not a website, it does not provide the same security assurances normal sites would. This is normal for any device you would be remotely logging into via its IP address
With recent changes to the Chrome security warning system, you may no longer see the “proceed anyway” button
If you receive a warning like the image below, you will be able to proceed by doing the following
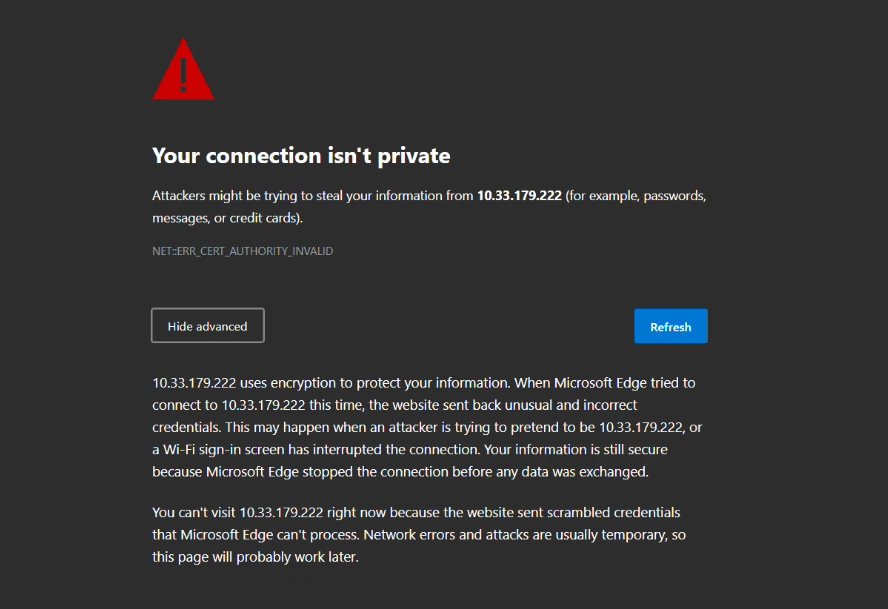
Click the Advanced Button to see the full warning
Click your mouse into the full warning text
Just one click; do not highlight anything
type thisisunsafe (no spaces or capitals and what you type will not appear on the screen)
Hit enter
Your web browser will then move to the Configuration Page Login Screen
You can then enter the User Name and Password for your Player
If you need this information, please contact Support@Korbyt.com
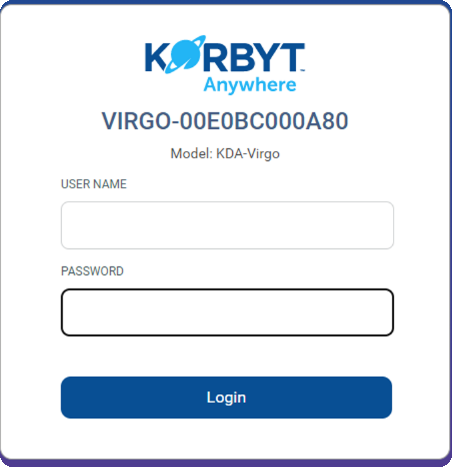
Setting Wifi Network Connection
Select the Network Tab at the top, then click on WiFi Networks
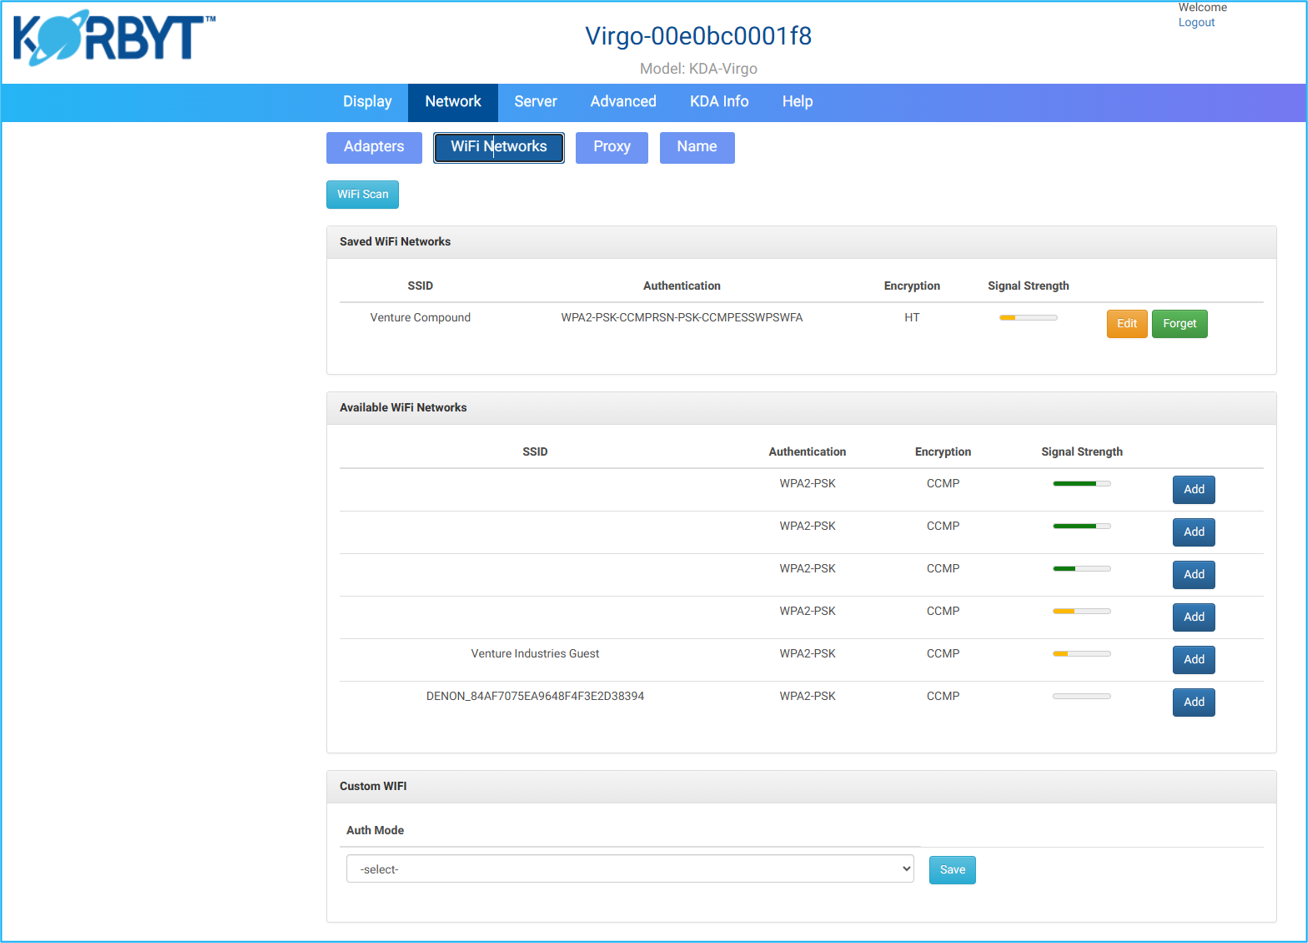
This page is where WiFi connections can be configured. It also shows all the available WiFi Networks that the player sees.
Find your WiFi Network and click the blue Add button.
Enter the Password for your network
Enable and Configure NTP in the Configuration Page
Once we are logged into the Player Configuration Page, we can navigate to the “Advanced” tab
where we can select the “Services” sub-tab.
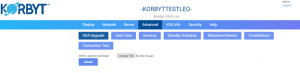
Once we are in the Services tab, we can check the “Enable Time Synchronization Service” to enable SNTP. Furthermore, we can specify which NTP server we want to synchronize with.
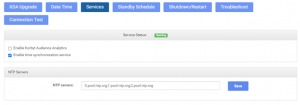
Once you enter the designated NTP server and click “Save” you will see this completion screen upon success.
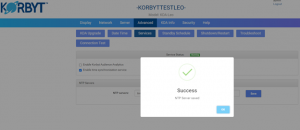
Your device should start showing the correct time within approximately 5 minutes after making this change. If you would like to see this change take effect immediately, rebooting the device will be the last step.
Server Tab - Hybrid and On-Prem Services Only
For On-Prem or Hybrid servers, the server address needs to be configured to point the player to the On-Prem server instead of the cloud.
Click on the Server tab at the top
Enter your On-Prem Server address
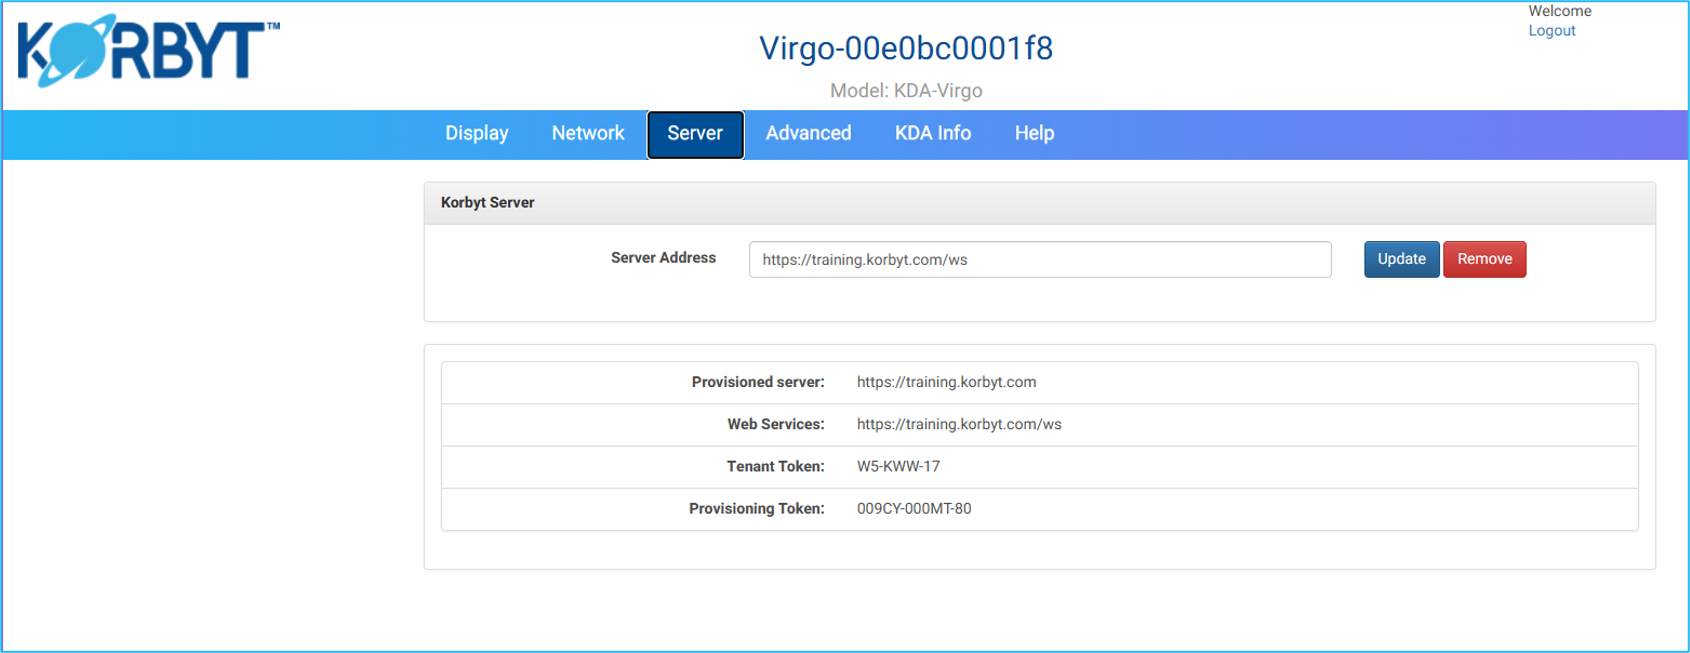
Also found on the Server Tab are the Tenant Token and Provisioning Token